SI Joint Pain: Home Exercise Program for Sacroiliac Dysfunction
Yana Blinova
By Yana Blinova, MS, Inventor of Pelvic Clock® Exercise Device, Former Olympic Coach
Does SI joint pain always require a chiropractor or medication?
No. In most cases, sacroiliac dysfunction can be managed with exercises.
If SI joint pain keeps returning, your exercise routine is not specific enough. Generic lower back exercises may help temporarily, but they do not correct pelvic misalignment. Long-term relief requires targeted, precise movement.
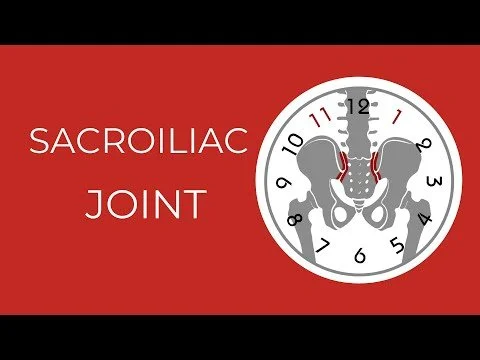
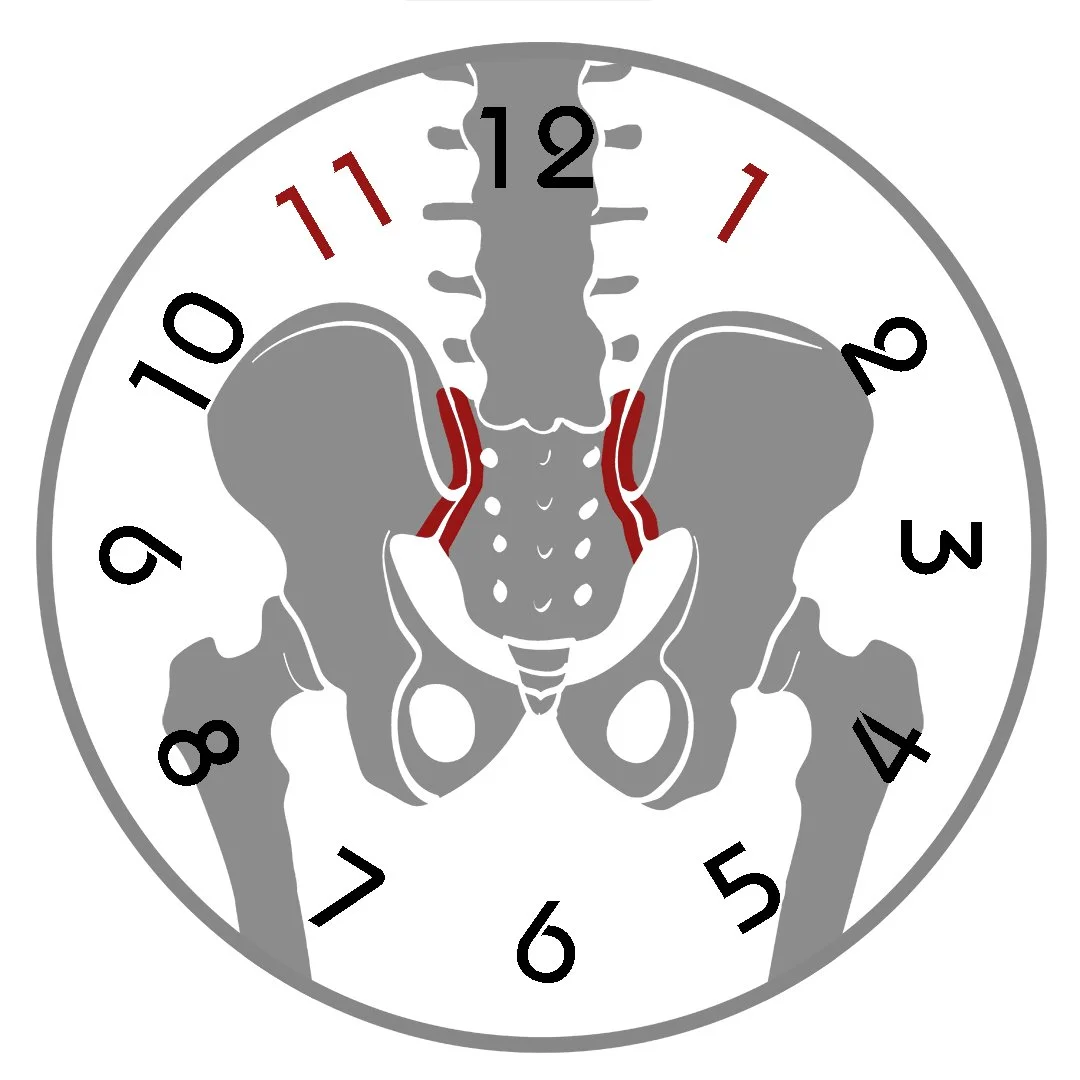
The Role of the Sacroiliac (SI) Joints
The sacroiliac (SI) joints connect the sacrum to the hip bones. They are weight-bearing joints.
Main functions:
Transfer body weight from the spine to the hips and legs
Absorb shock during walking and running
SI joints are symmetrical by design and function best when the sacrum, spine, and pelvis are in a neutral position. They become vulnerable when the pelvis tilts, rotates, or twists.
What Causes SI Joint Pain?
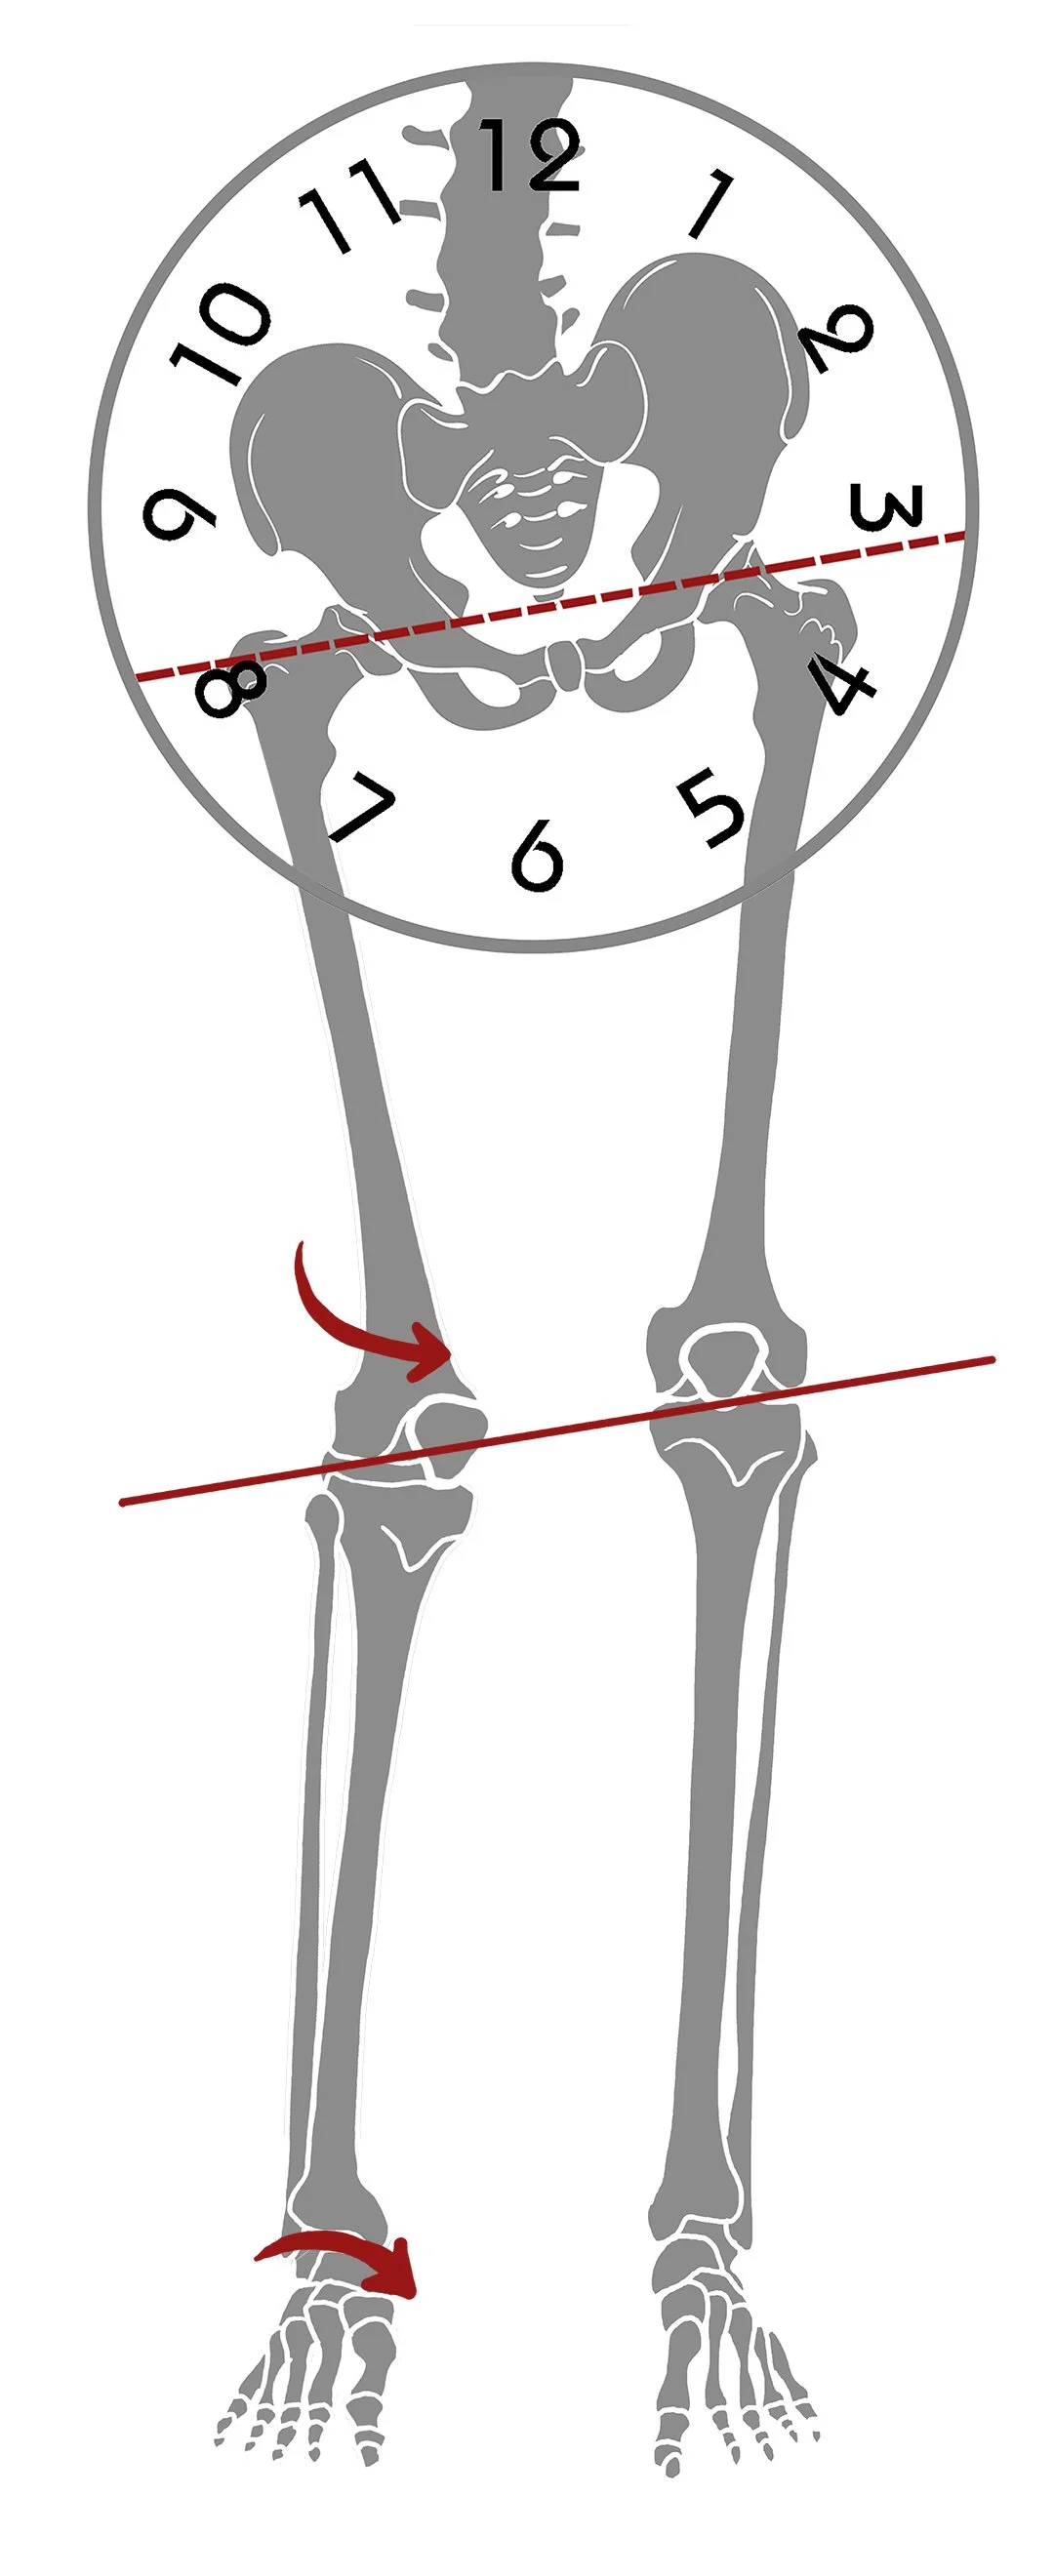
SI joint pain is usually one-sided. The body compensates for asymmetry, including:
Uneven hips
A tilted or rotated pelvis
Leg-length differences
Old injuries
Overpronation of one foot
When more body weight loads one side of the pelvis, the SI joint on that side carries greater stress. Over time, this leads to inflammation and pain.
Two Types of Sacroiliac Dysfunction
Unstable SI Joint (Hypermobility)
Loose ligaments fail to maintain pelvic symmetry, allowing one hip bone to rotate forward. This anterior pelvic tilt pulls the SI joint on that side out of its neutral position.
Symptoms:
Sharp or stabbing pain
A feeling of leg instability
A “catch” when standing up or turning in bed
Common contributors:
Pregnancy-related hormones, genetic ligament laxity, or trauma
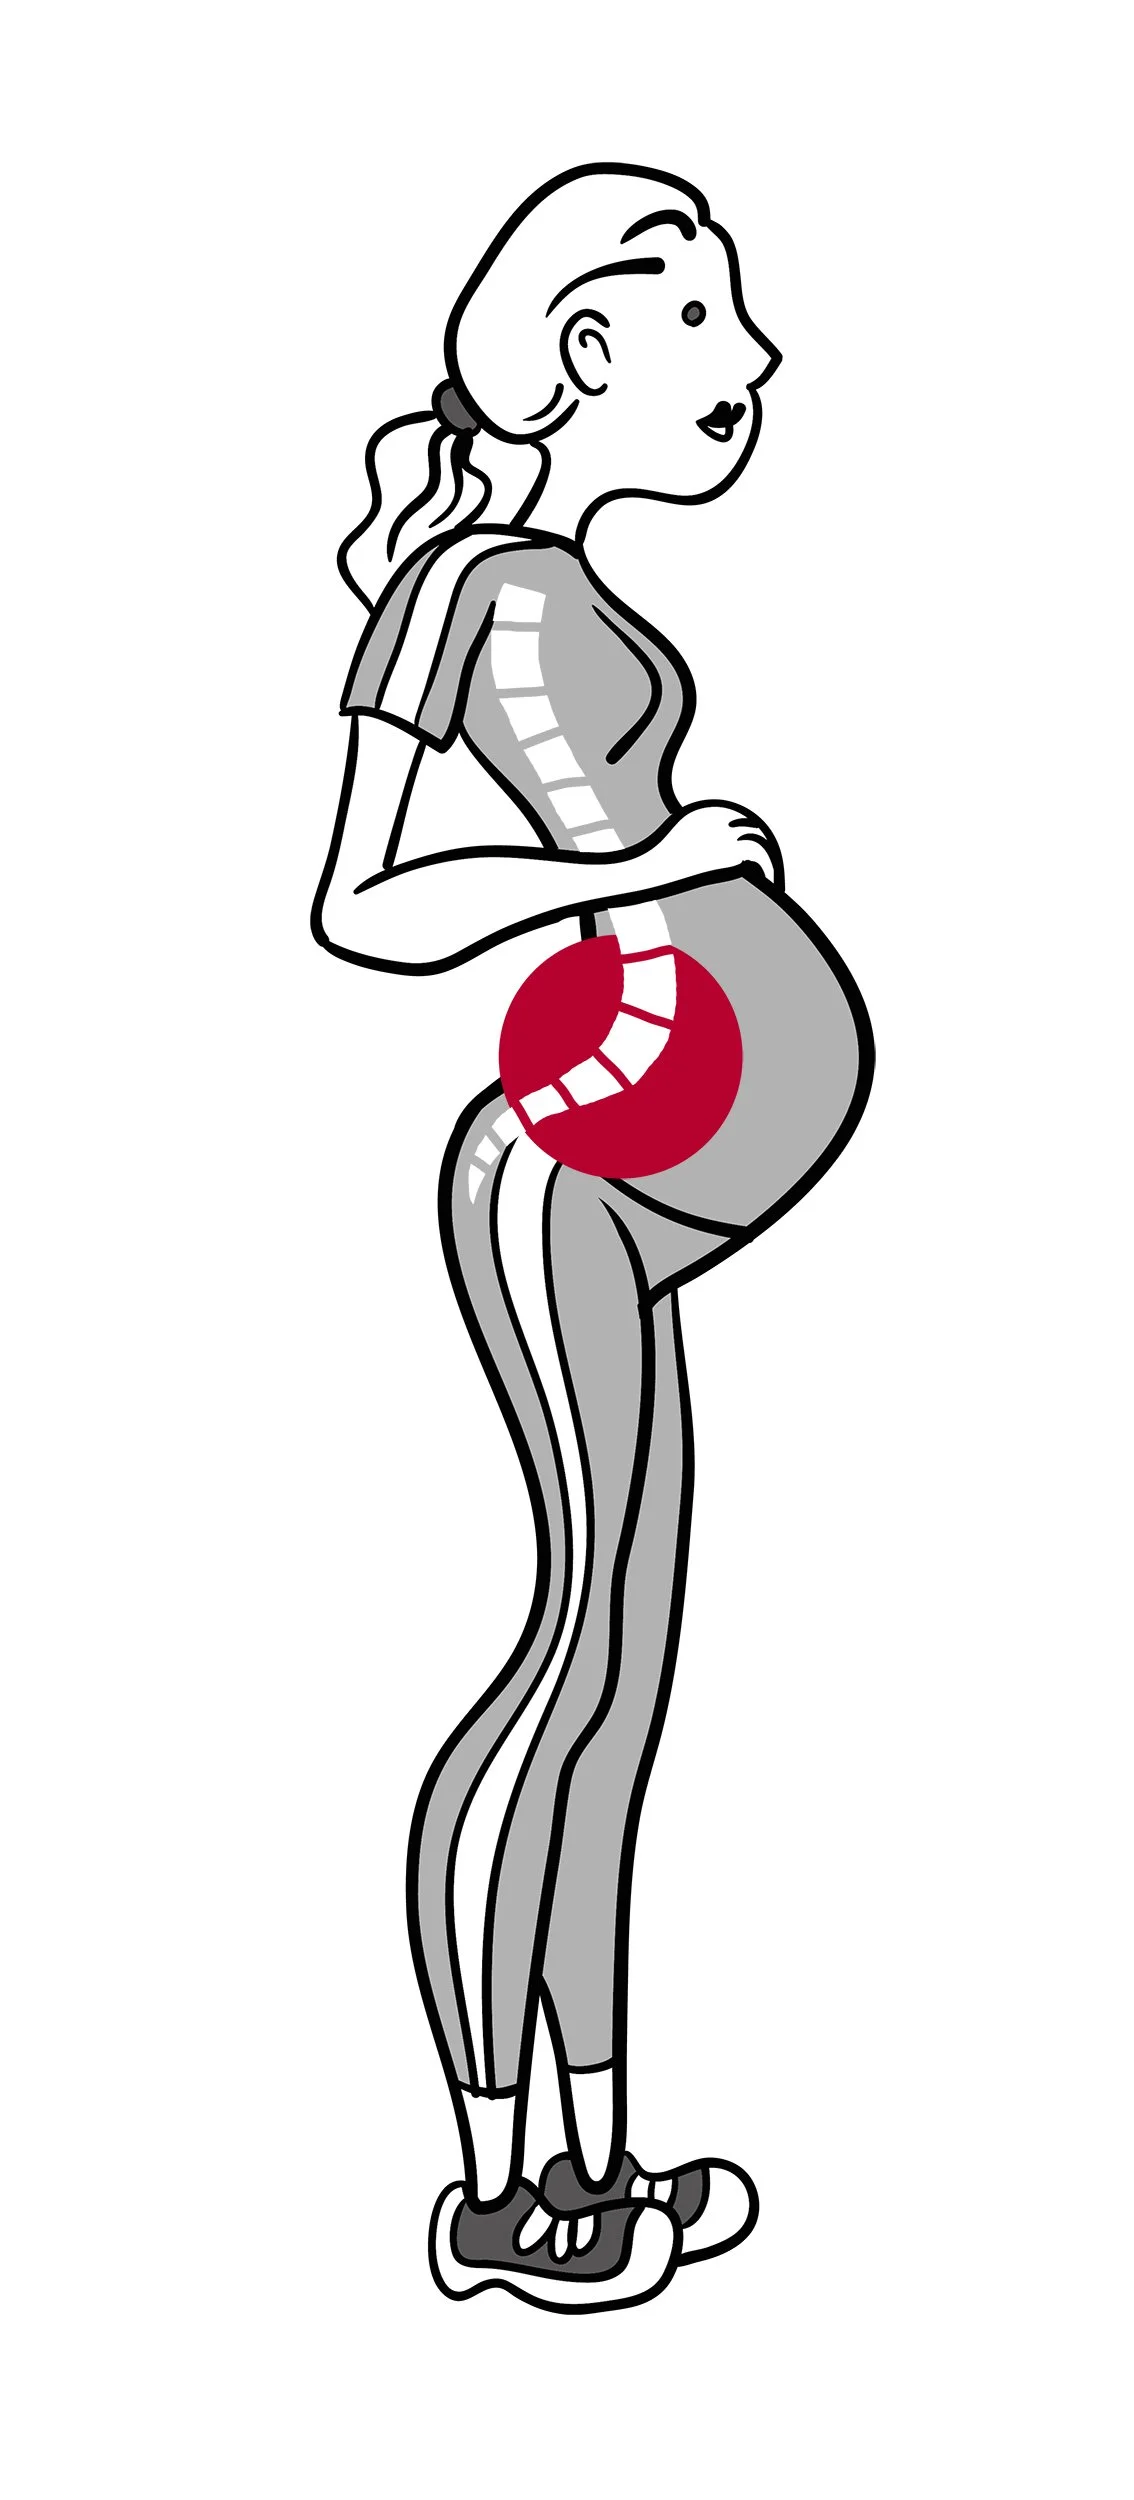
Anterior Pelvic Tilt
“Locked” SI Joint (Hypomobility)
Sitting with more weight on one buttock rotates that hip bone backward, creating a posterior pelvic tilt. This compresses the SI joint surfaces and limits their normal gliding motion.
Symptoms:
Deep, dull pain
One side feels heavy or stuck
Discomfort when sitting on that side
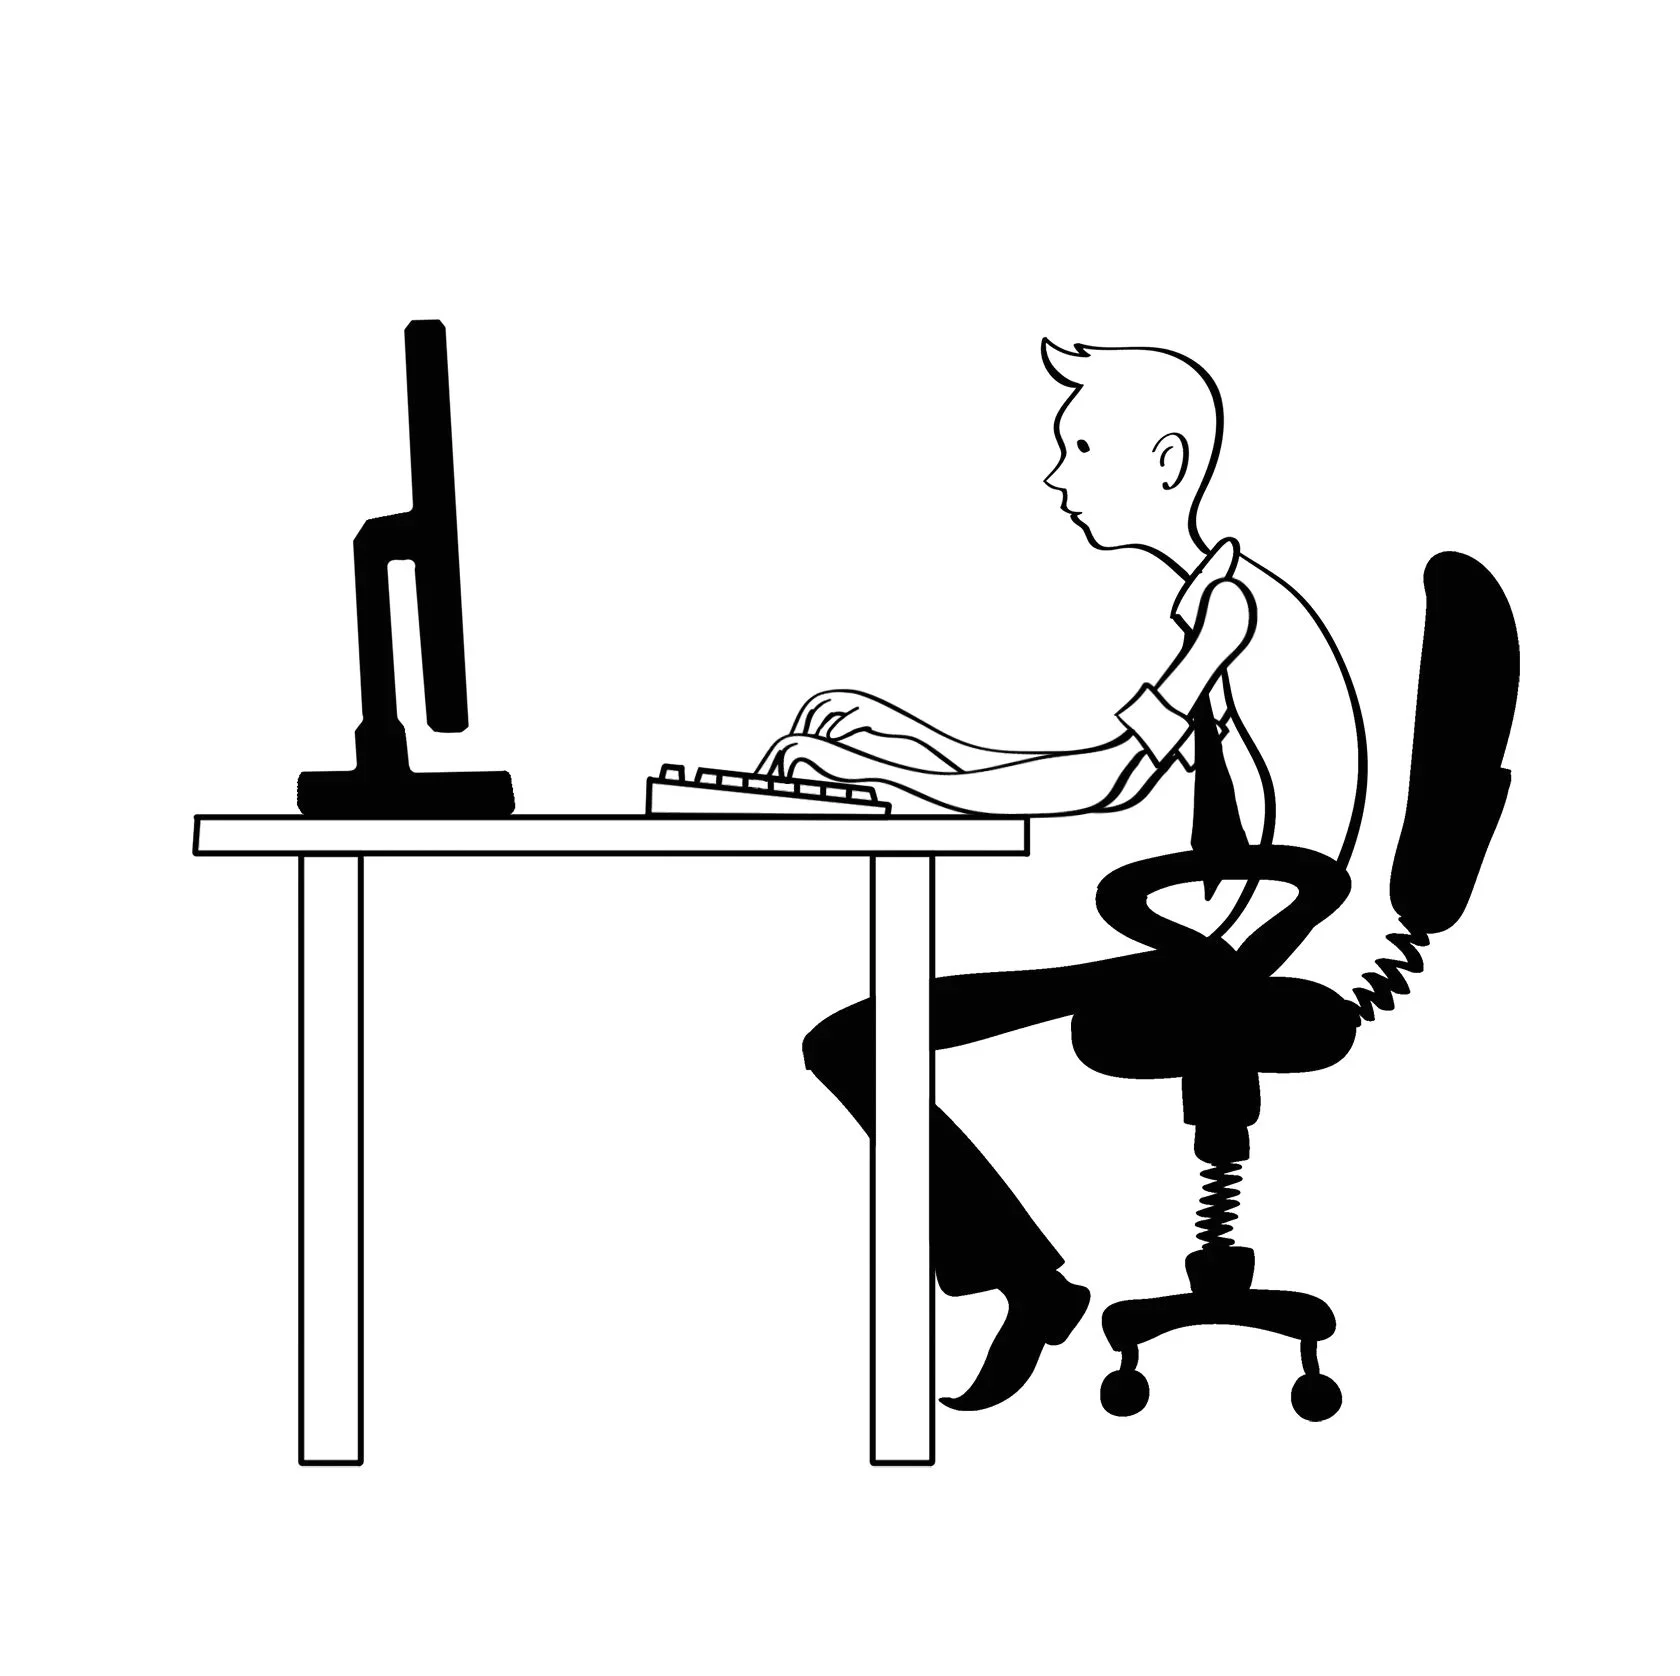
Common contributors:
Arthritis, bone spurs, spondylolysis, leg-length differences, pelvic torsion, or prolonged sitting
Why Use the Pelvic Clock®?
Traditional SI joint exercises are performed on a flat surface and work in two dimensions. The Pelvic Clock® elevates the pelvis, adding a third dimension and precision to pelvic movements.
Stretch
Elevation allows decompression of “locked” SI joints and stretches muscles that are difficult to reach on a flat surface, including the quadratus lumborum, iliopsoas, and piriformis.
Strengthen
Balancing on the unstable surface of the Pelvic Clock® makes core exercises more challenging. It activates deep stabilizers, including the transversus abdominis and internal obliques.
Realign
The recess on the flat side of the Pelvic Clock® centers the sacrum and provides clear proprioceptive feedback, helping the nervous system detect pelvic asymmetry.
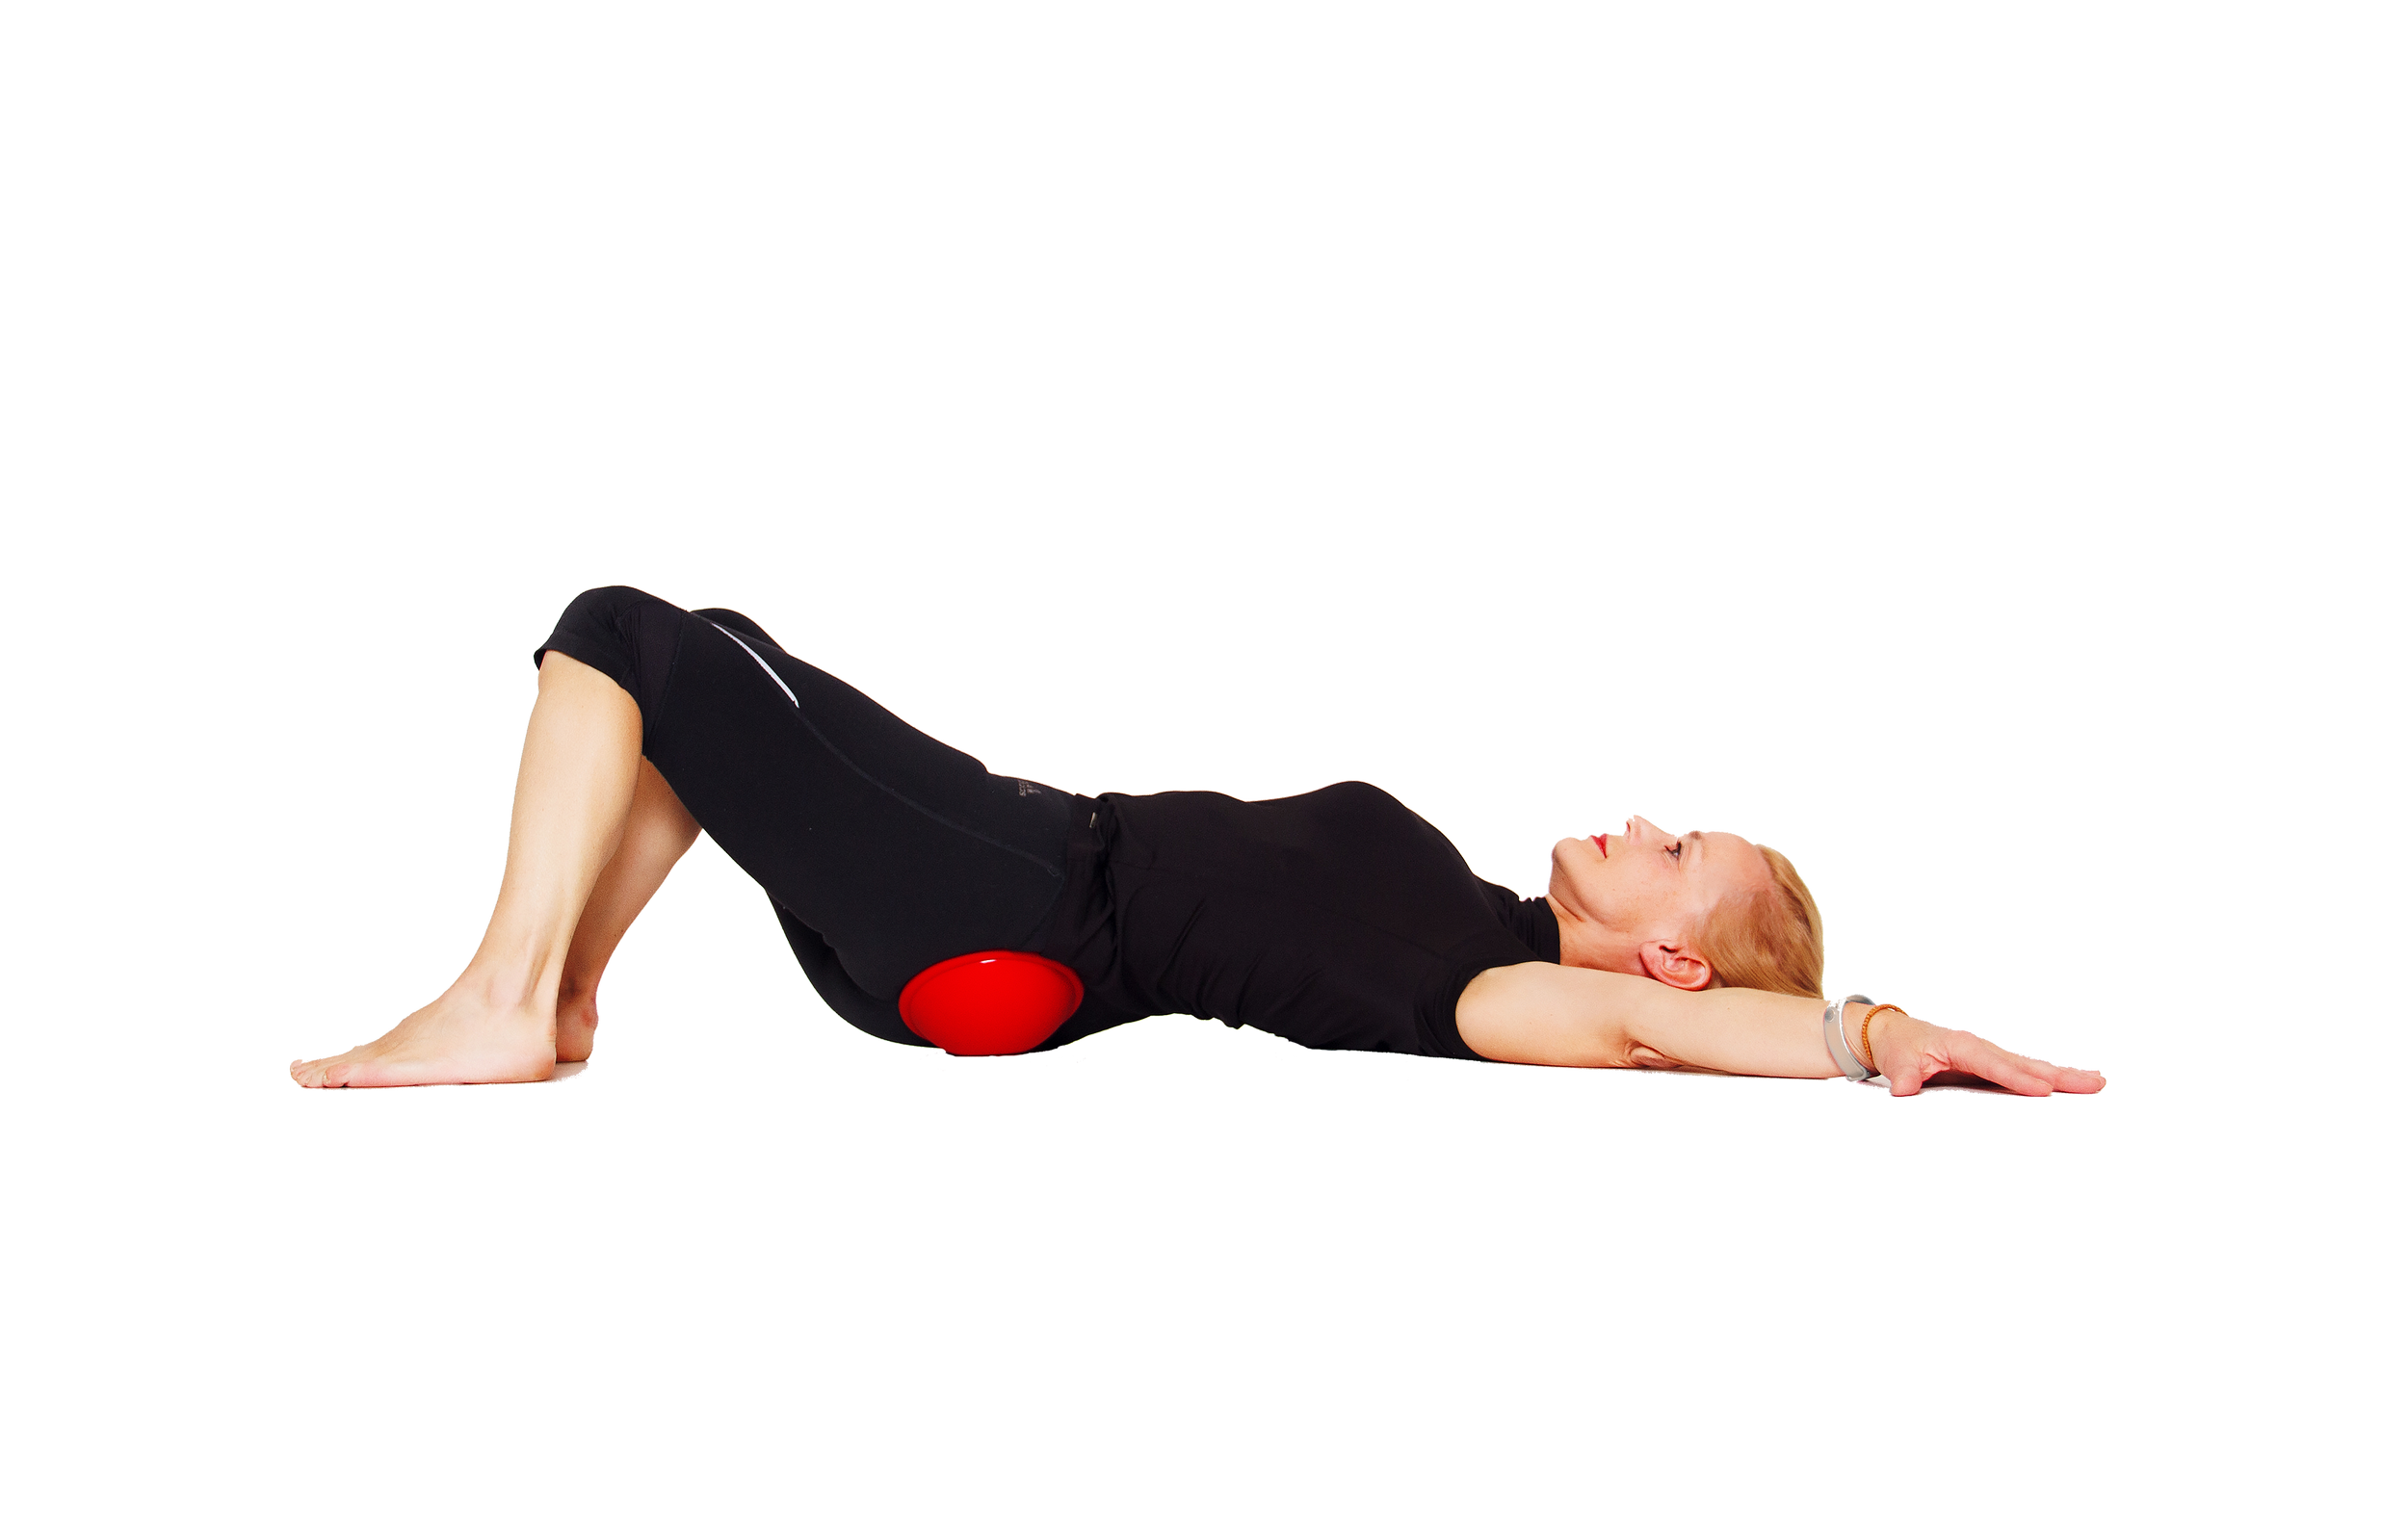
How to Start
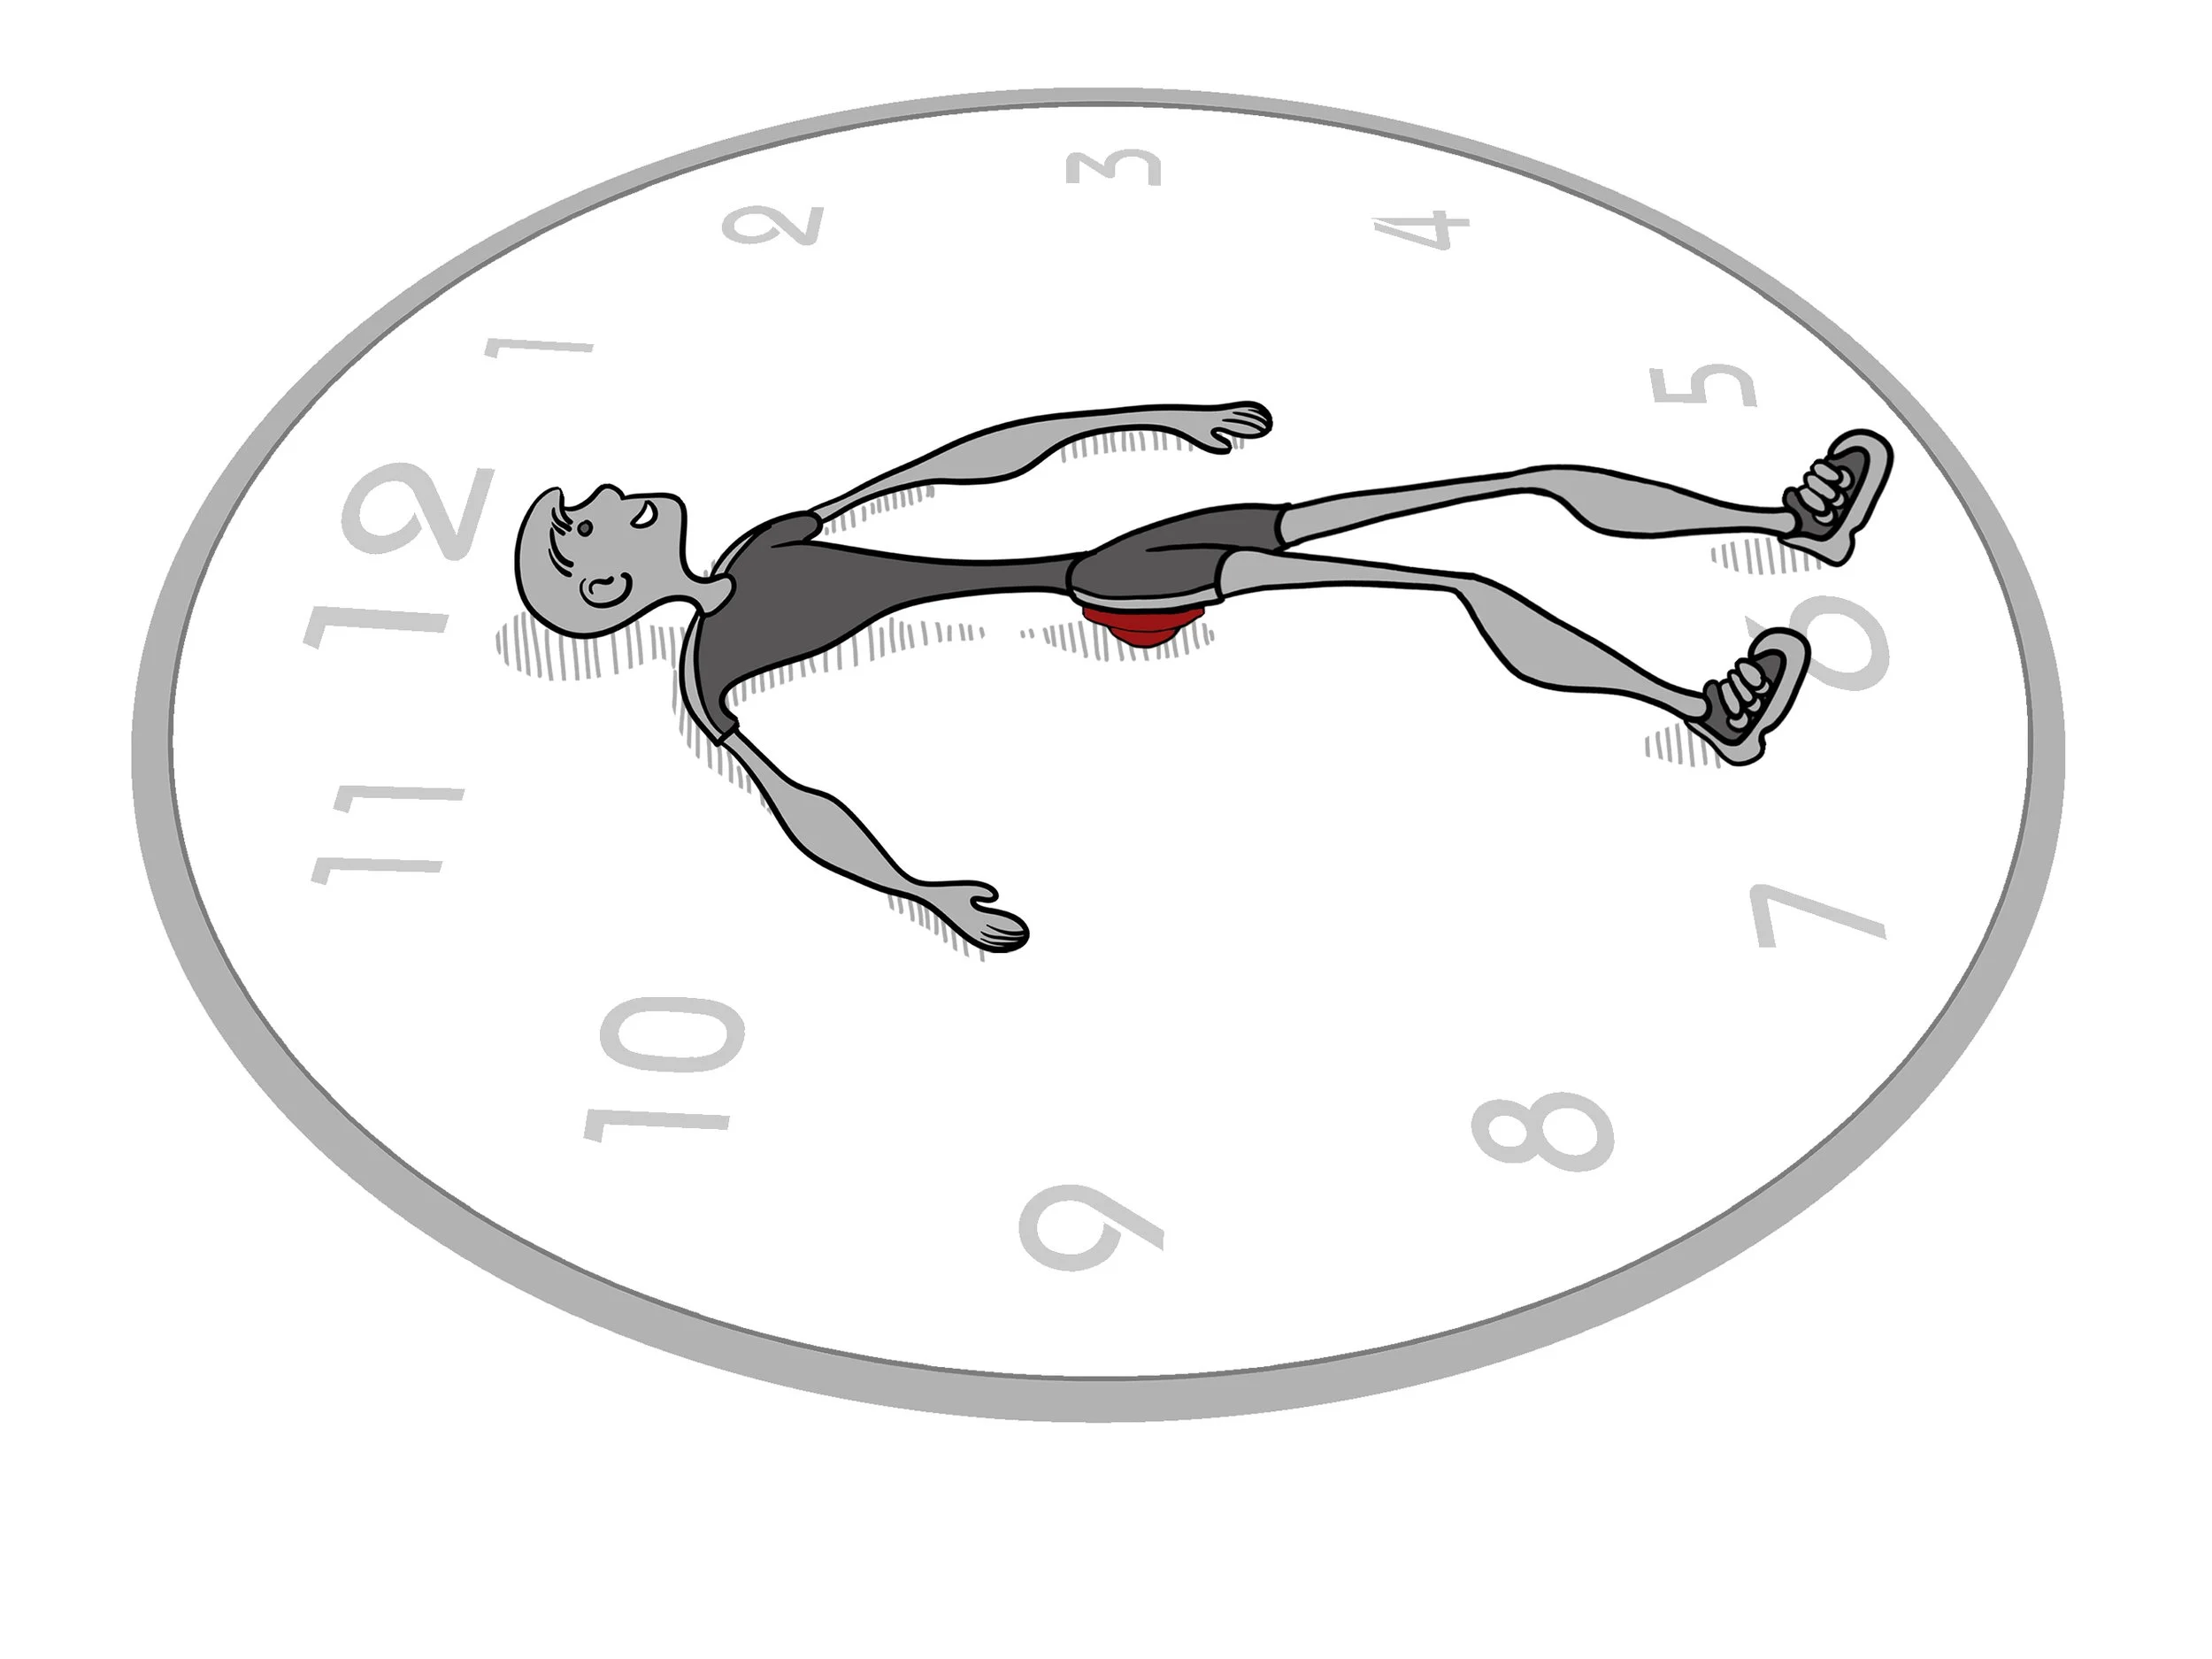
Lie on your back with knees bent. Place the Pelvic Clock® under your sacrum.
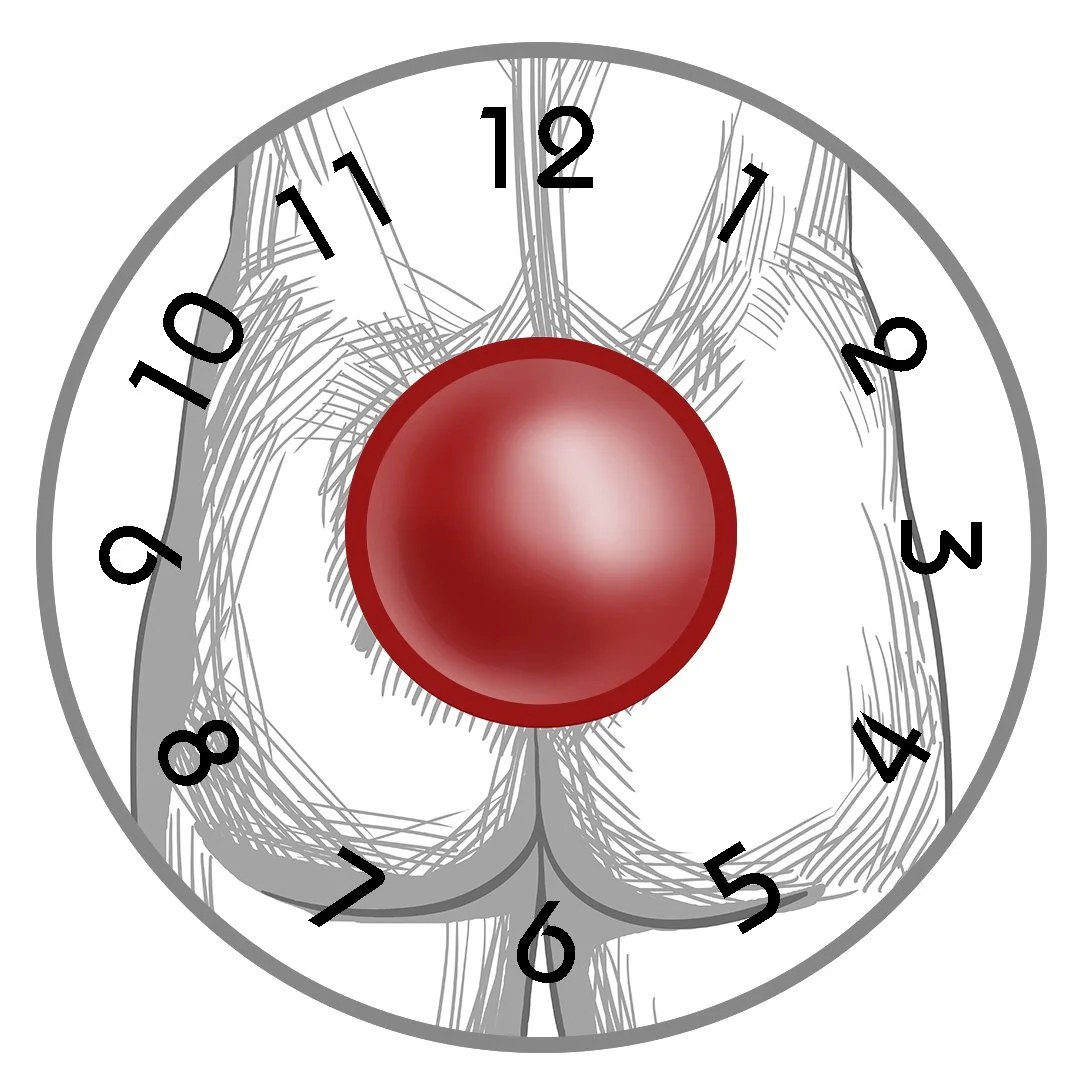
Visualize the clock:
12 o’clock points toward your head
6 o’clock points toward your feet
The right SI joint is near 11 o’clock
The left SI joint is near 1 o’clock

Strengthening an Unstable SI Joint with Pelvic Clock® Exercises
Exercise “6–1–6–11”
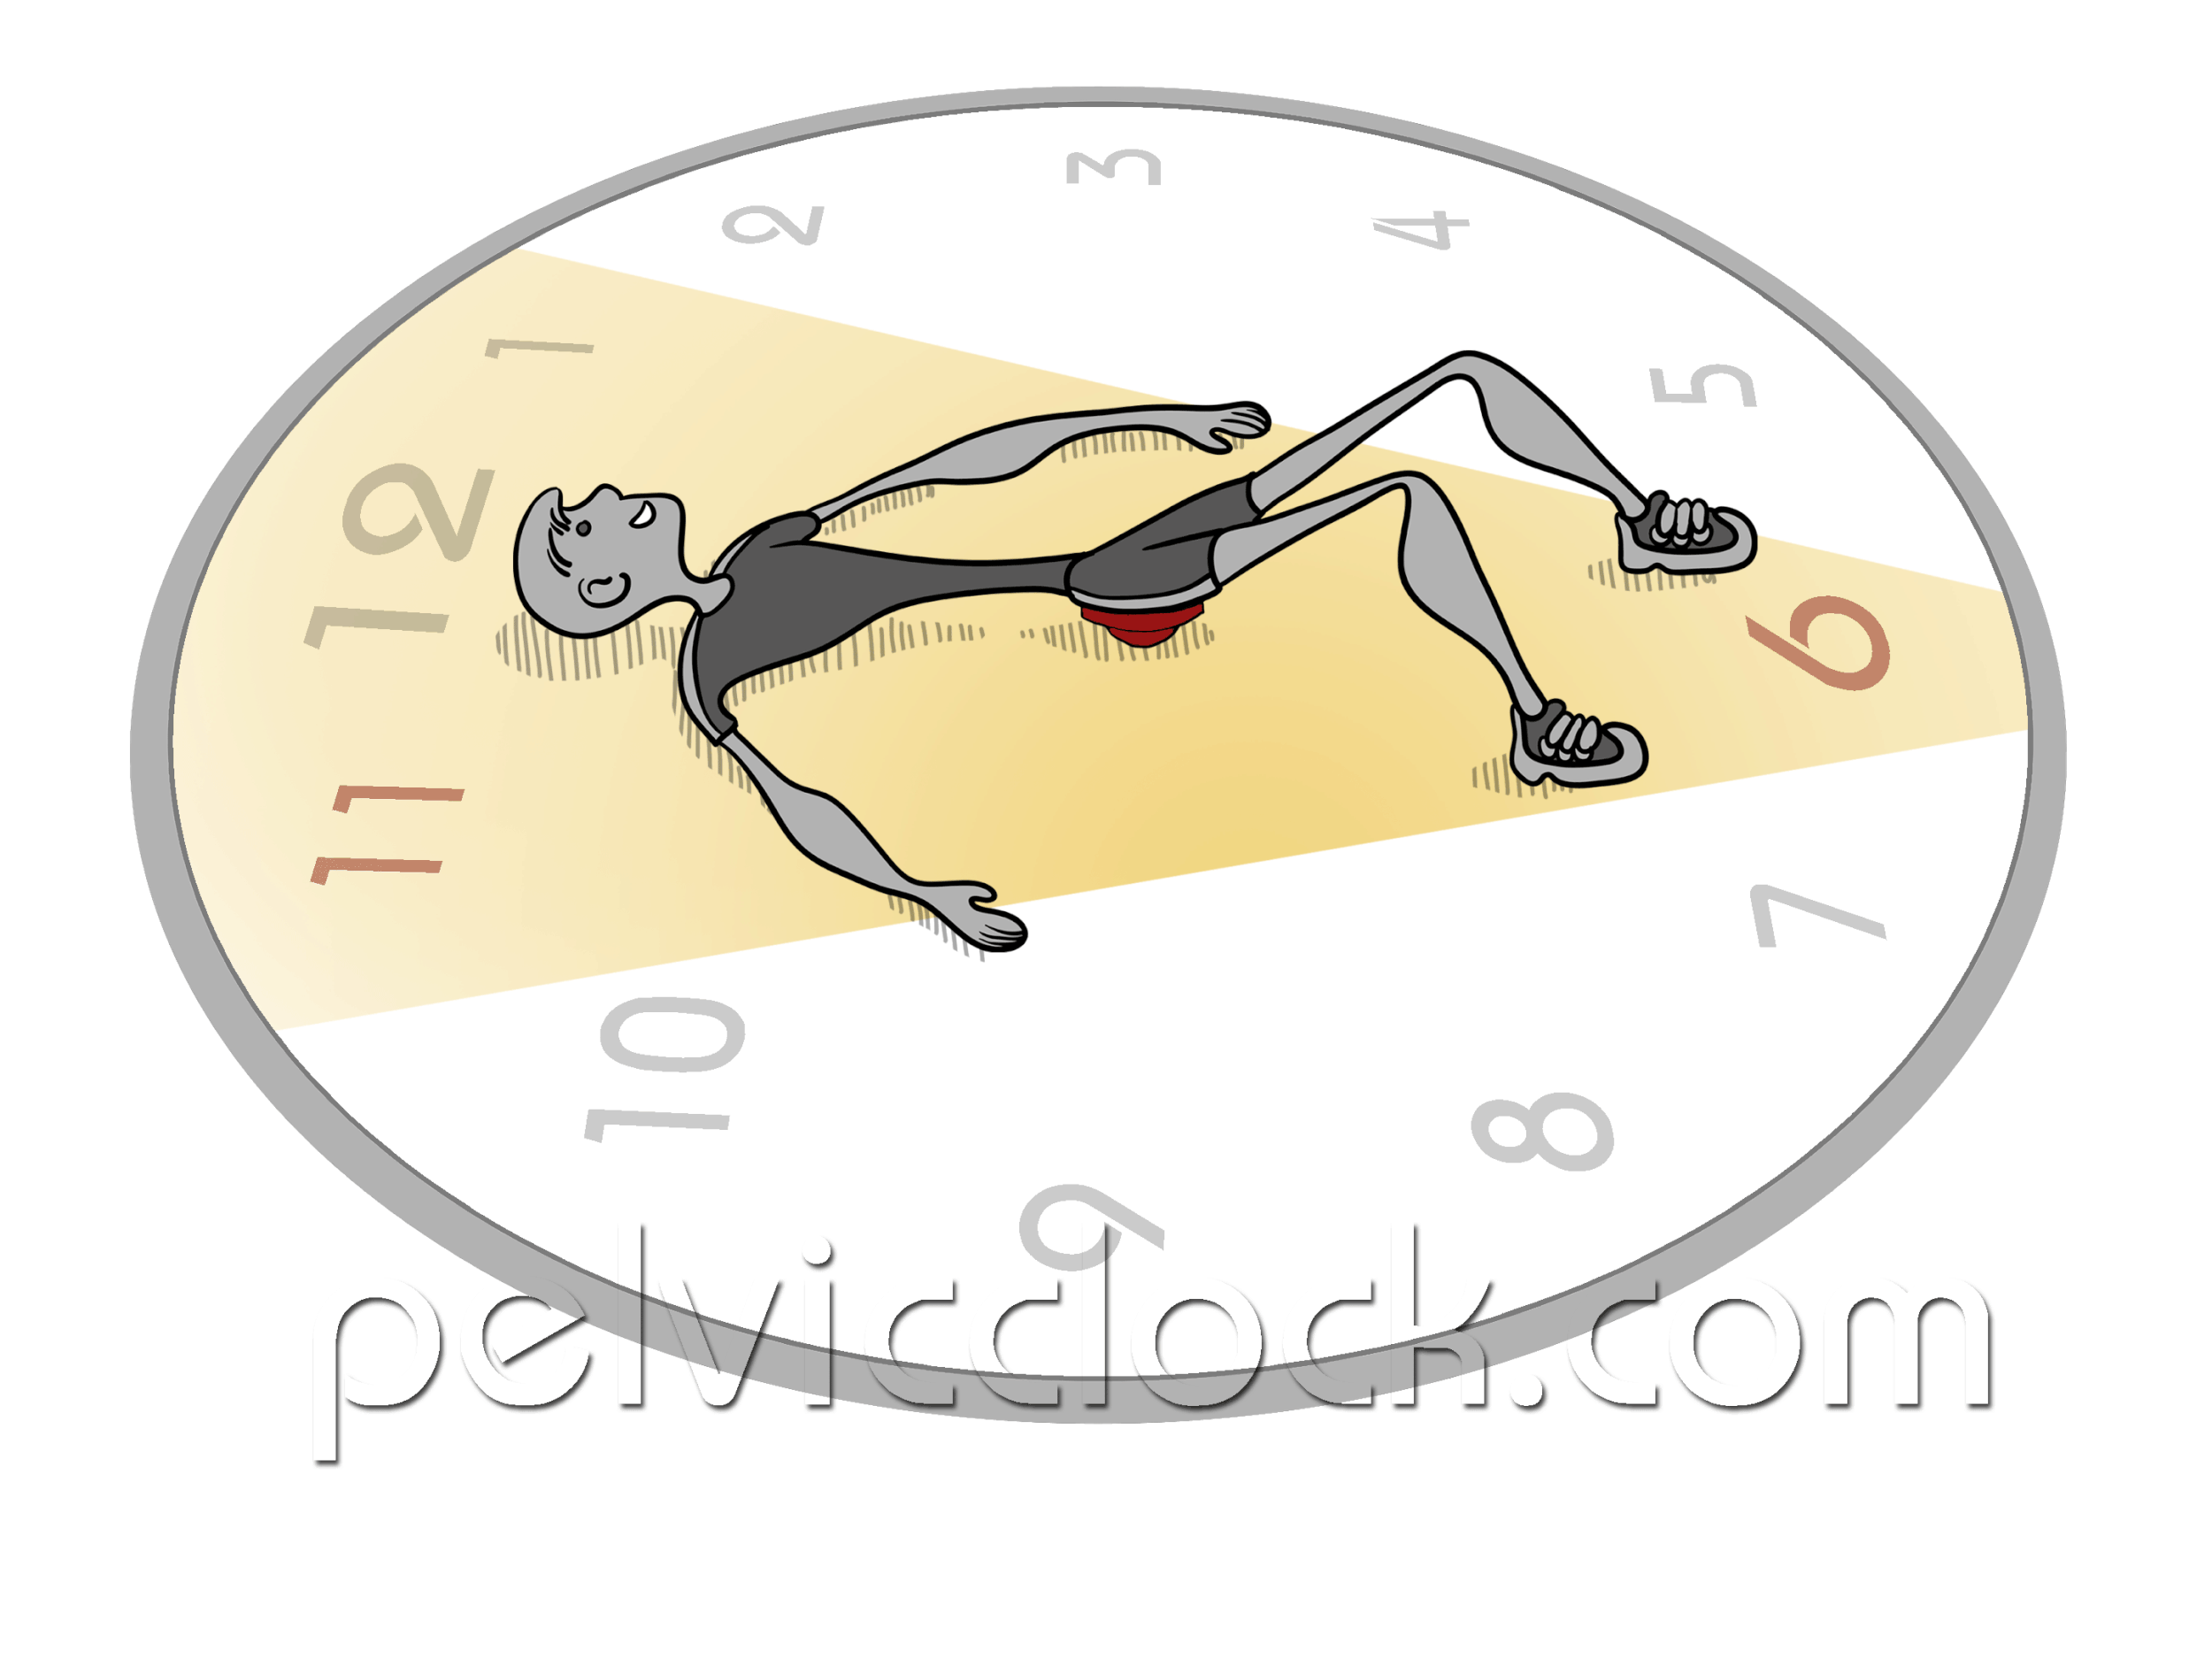
Exhale. Lean back and to the left toward 1 o’clock, pressing the left side of your lower back into the floor. Hold for 5 seconds.
Inhale. Lean forward toward 6 o’clock.
Exhale. Lean back and to the right toward 11 o’clock, pressing the right side of your lower back into the floor. Hold for 5 seconds.
Repeat 10 times. Compare both sides and add repetitions to the side that is harder to control.
Purpose:
Strengthens internal obliques
Stretches quadratus lumborum
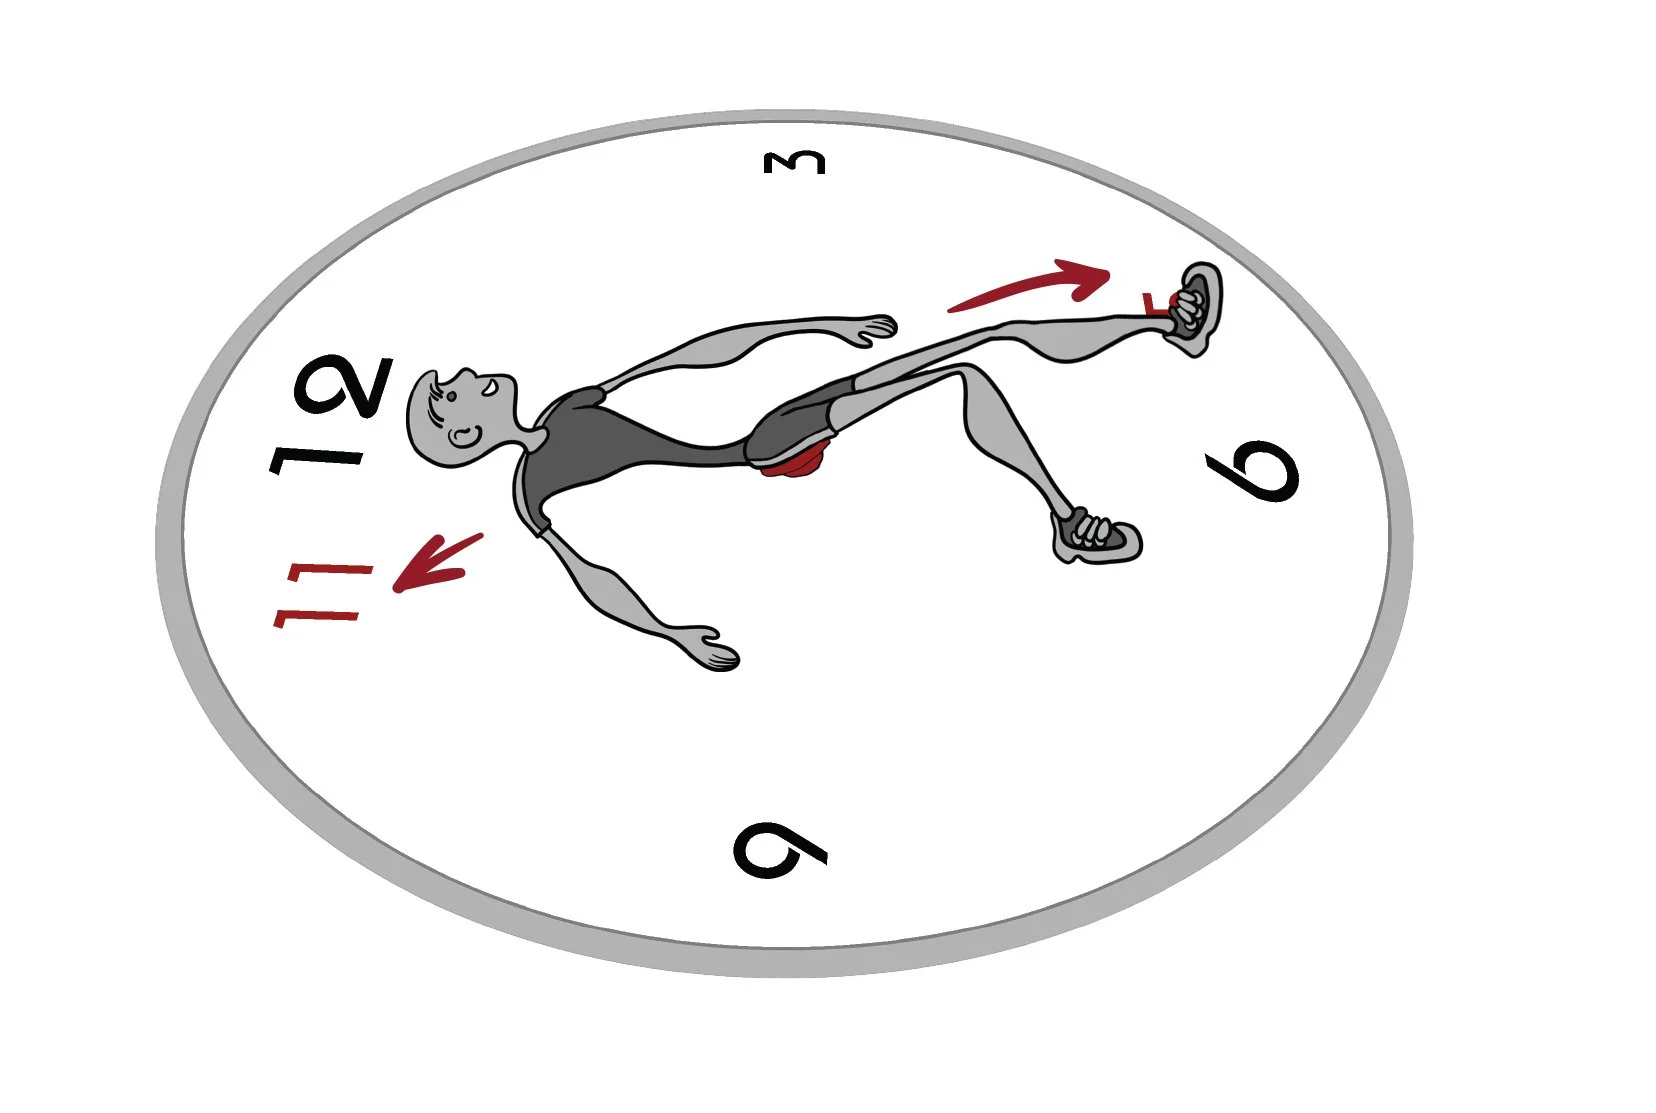
Single-Leg Diagonal Pelvic Tilt
Do both exercises — “5–11” and “7–1” — 10 times each, emphasizing positions 1 and 11.
Compare both sides.
Then work on the side that is harder to press into the floor and feels less controlled.
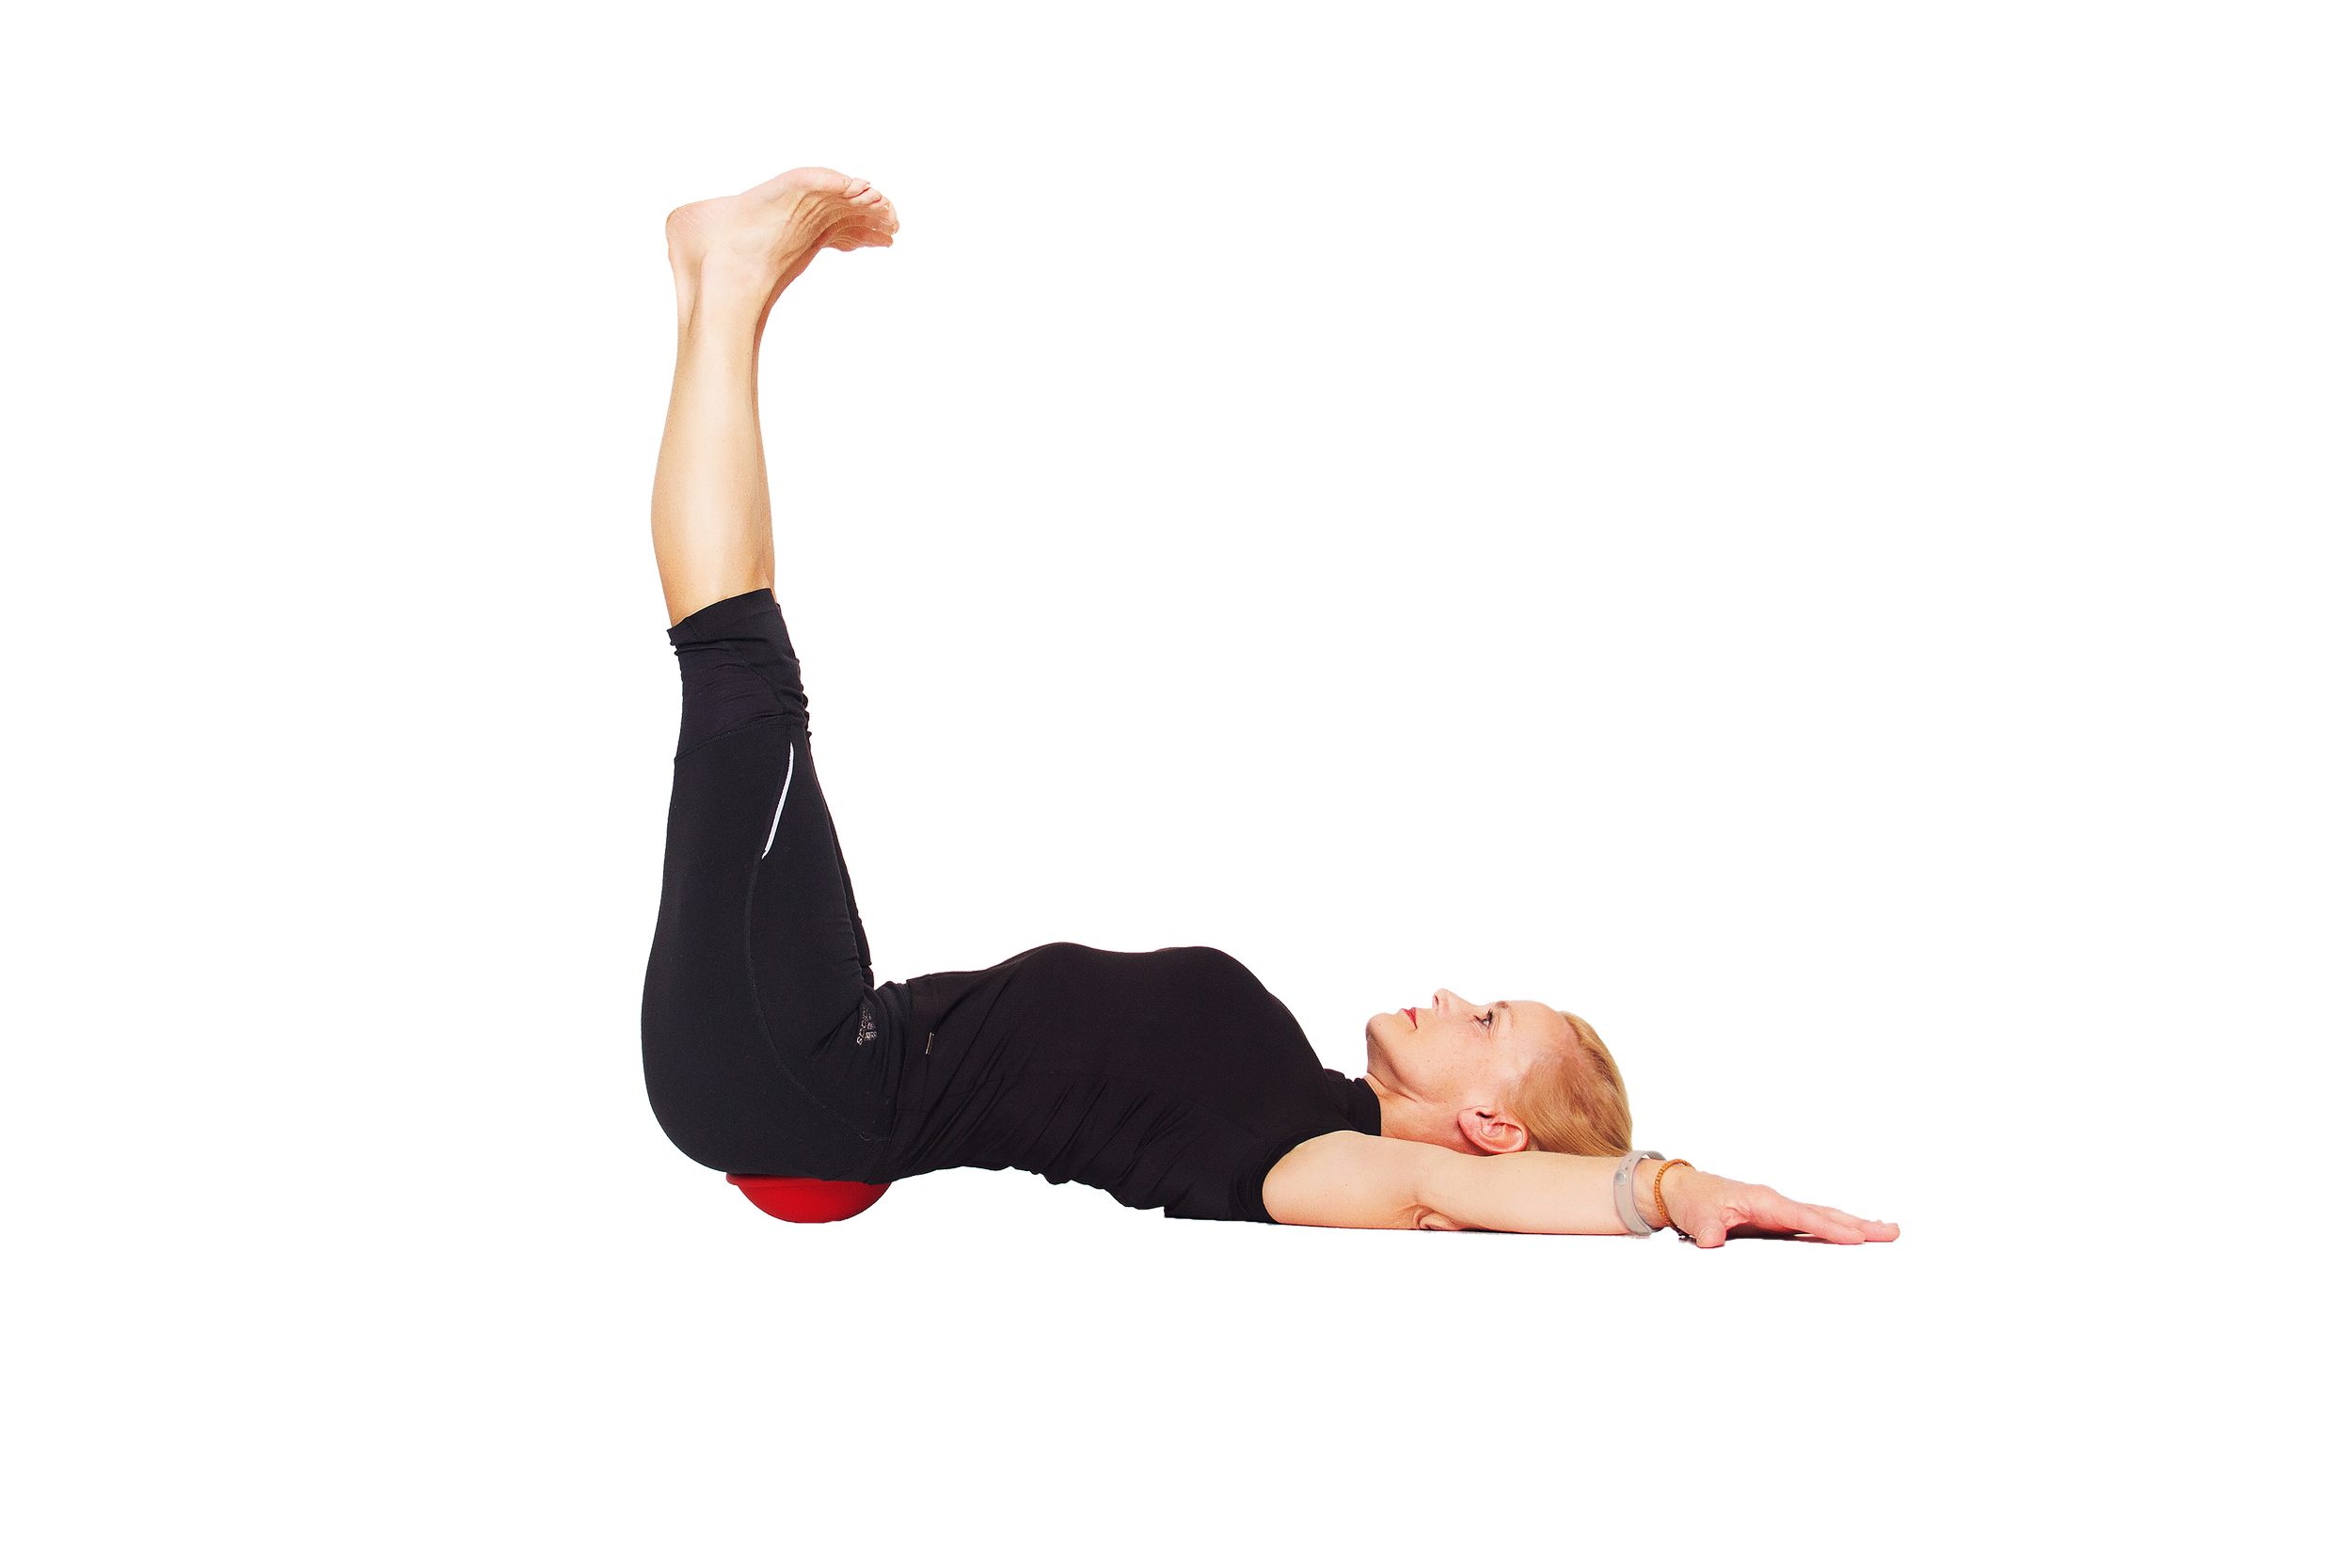
Exercise “7–1”
Lie on your back with your sacrum centered on the Pelvic Clock®.
Extend the right leg toward 7 o’clock.
Bend the left knee, with the left foot flat on the floor.
Inhale:
Slide the right leg diagonally forward and to the right toward 7 o’clock.
Tilt the pelvis forward to the right, pressing the right buttock into the floor.
Hold for 5 seconds.
Exhale:
Tilt the pelvis back to the left toward 1 o’clock.
Scoop the tailbone under and press the left side of the lower back into the floor.
Hold for 5 seconds.
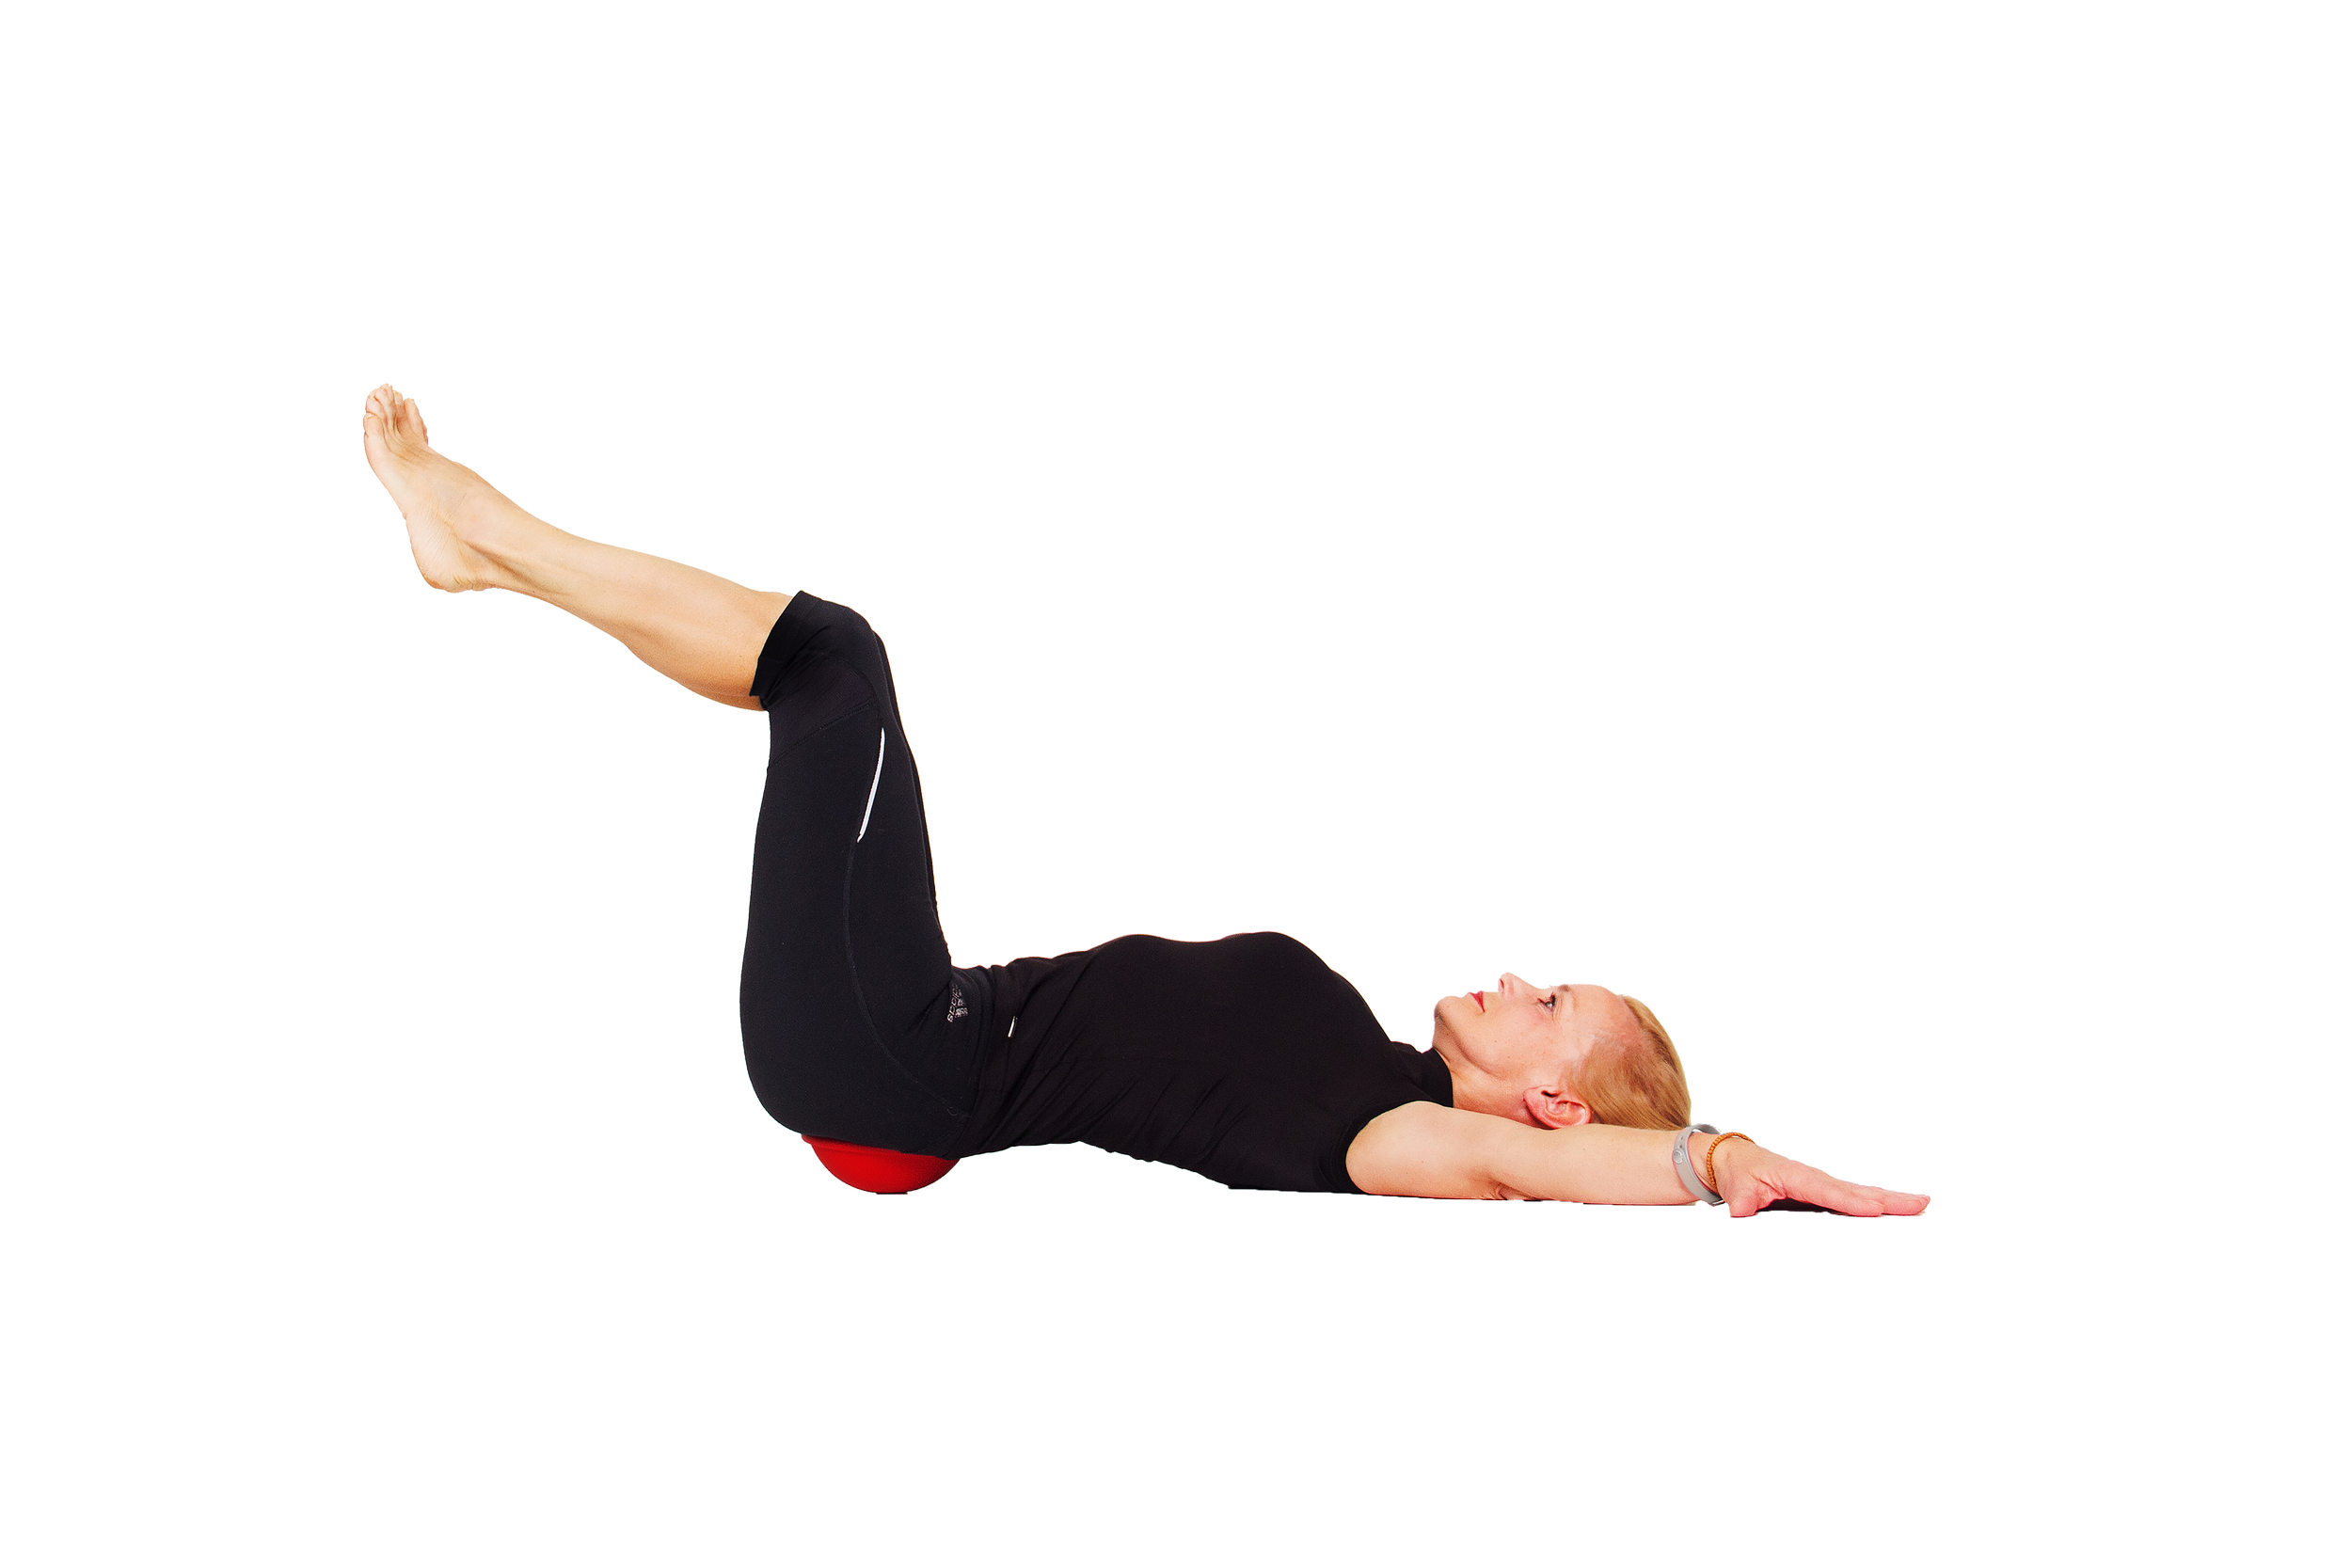
Exercise “5–11”
Lie on your back with your sacrum centered on the Pelvic Clock®.
Extend the left leg toward 5 o’clock.
Bend the right knee, with the right foot flat on the floor.
Inhale:
Slide the left leg diagonally forward and to the left toward 5 o’clock.
Tilt the pelvis forward to the left, pressing the left buttock into the floor.
Hold for 5 seconds.
Exhale:
Tilt the pelvis back to the right toward 11 o’clock.
Scoop the tailbone under and press the right side of the lower back into the floor.
Hold for 5 seconds.
Repeat 10 times.
Purpose:
Stretches the quadratus lumborum (QL)
Stretches the iliopsoas (hip flexor)
Strengthens the internal obliques
Improves side-specific pelvic control and SI joint mechanics
Balance on One Heel
Stretch your arms straight up toward the ceiling, reaching tall through the fingertips.
Lift the soles of your feet and balance on your heels, keeping the flat surface of the device parallel to the floor.
Lift the right leg, bending the knee to 90°. Take five slow, deep breaths while maintaining balance.
Alternate right and left 5 times, then focus on the less stable side.
Purpose:
Strengthens the transversus abdominis
Improves pelvic stability
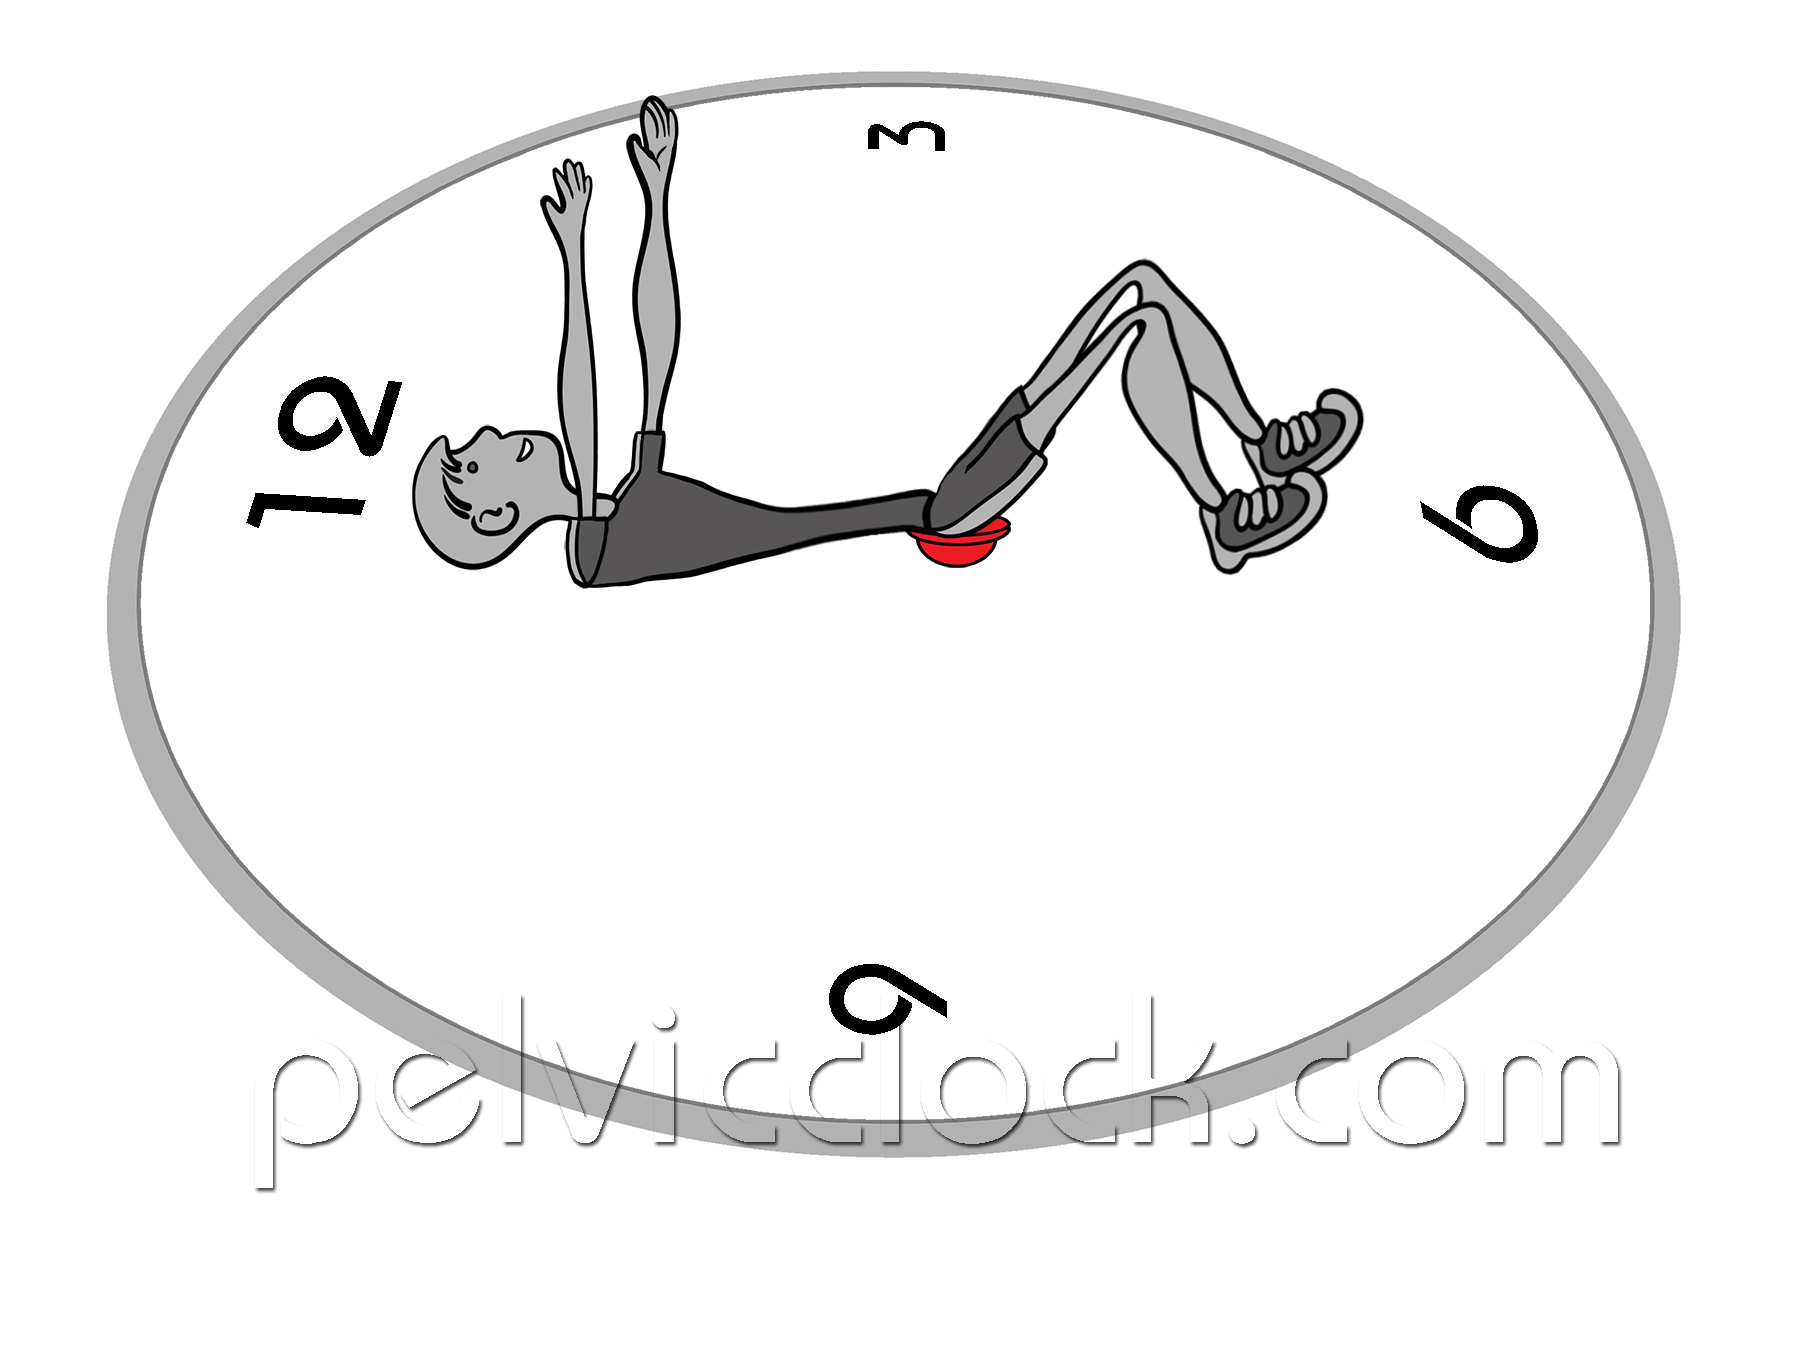
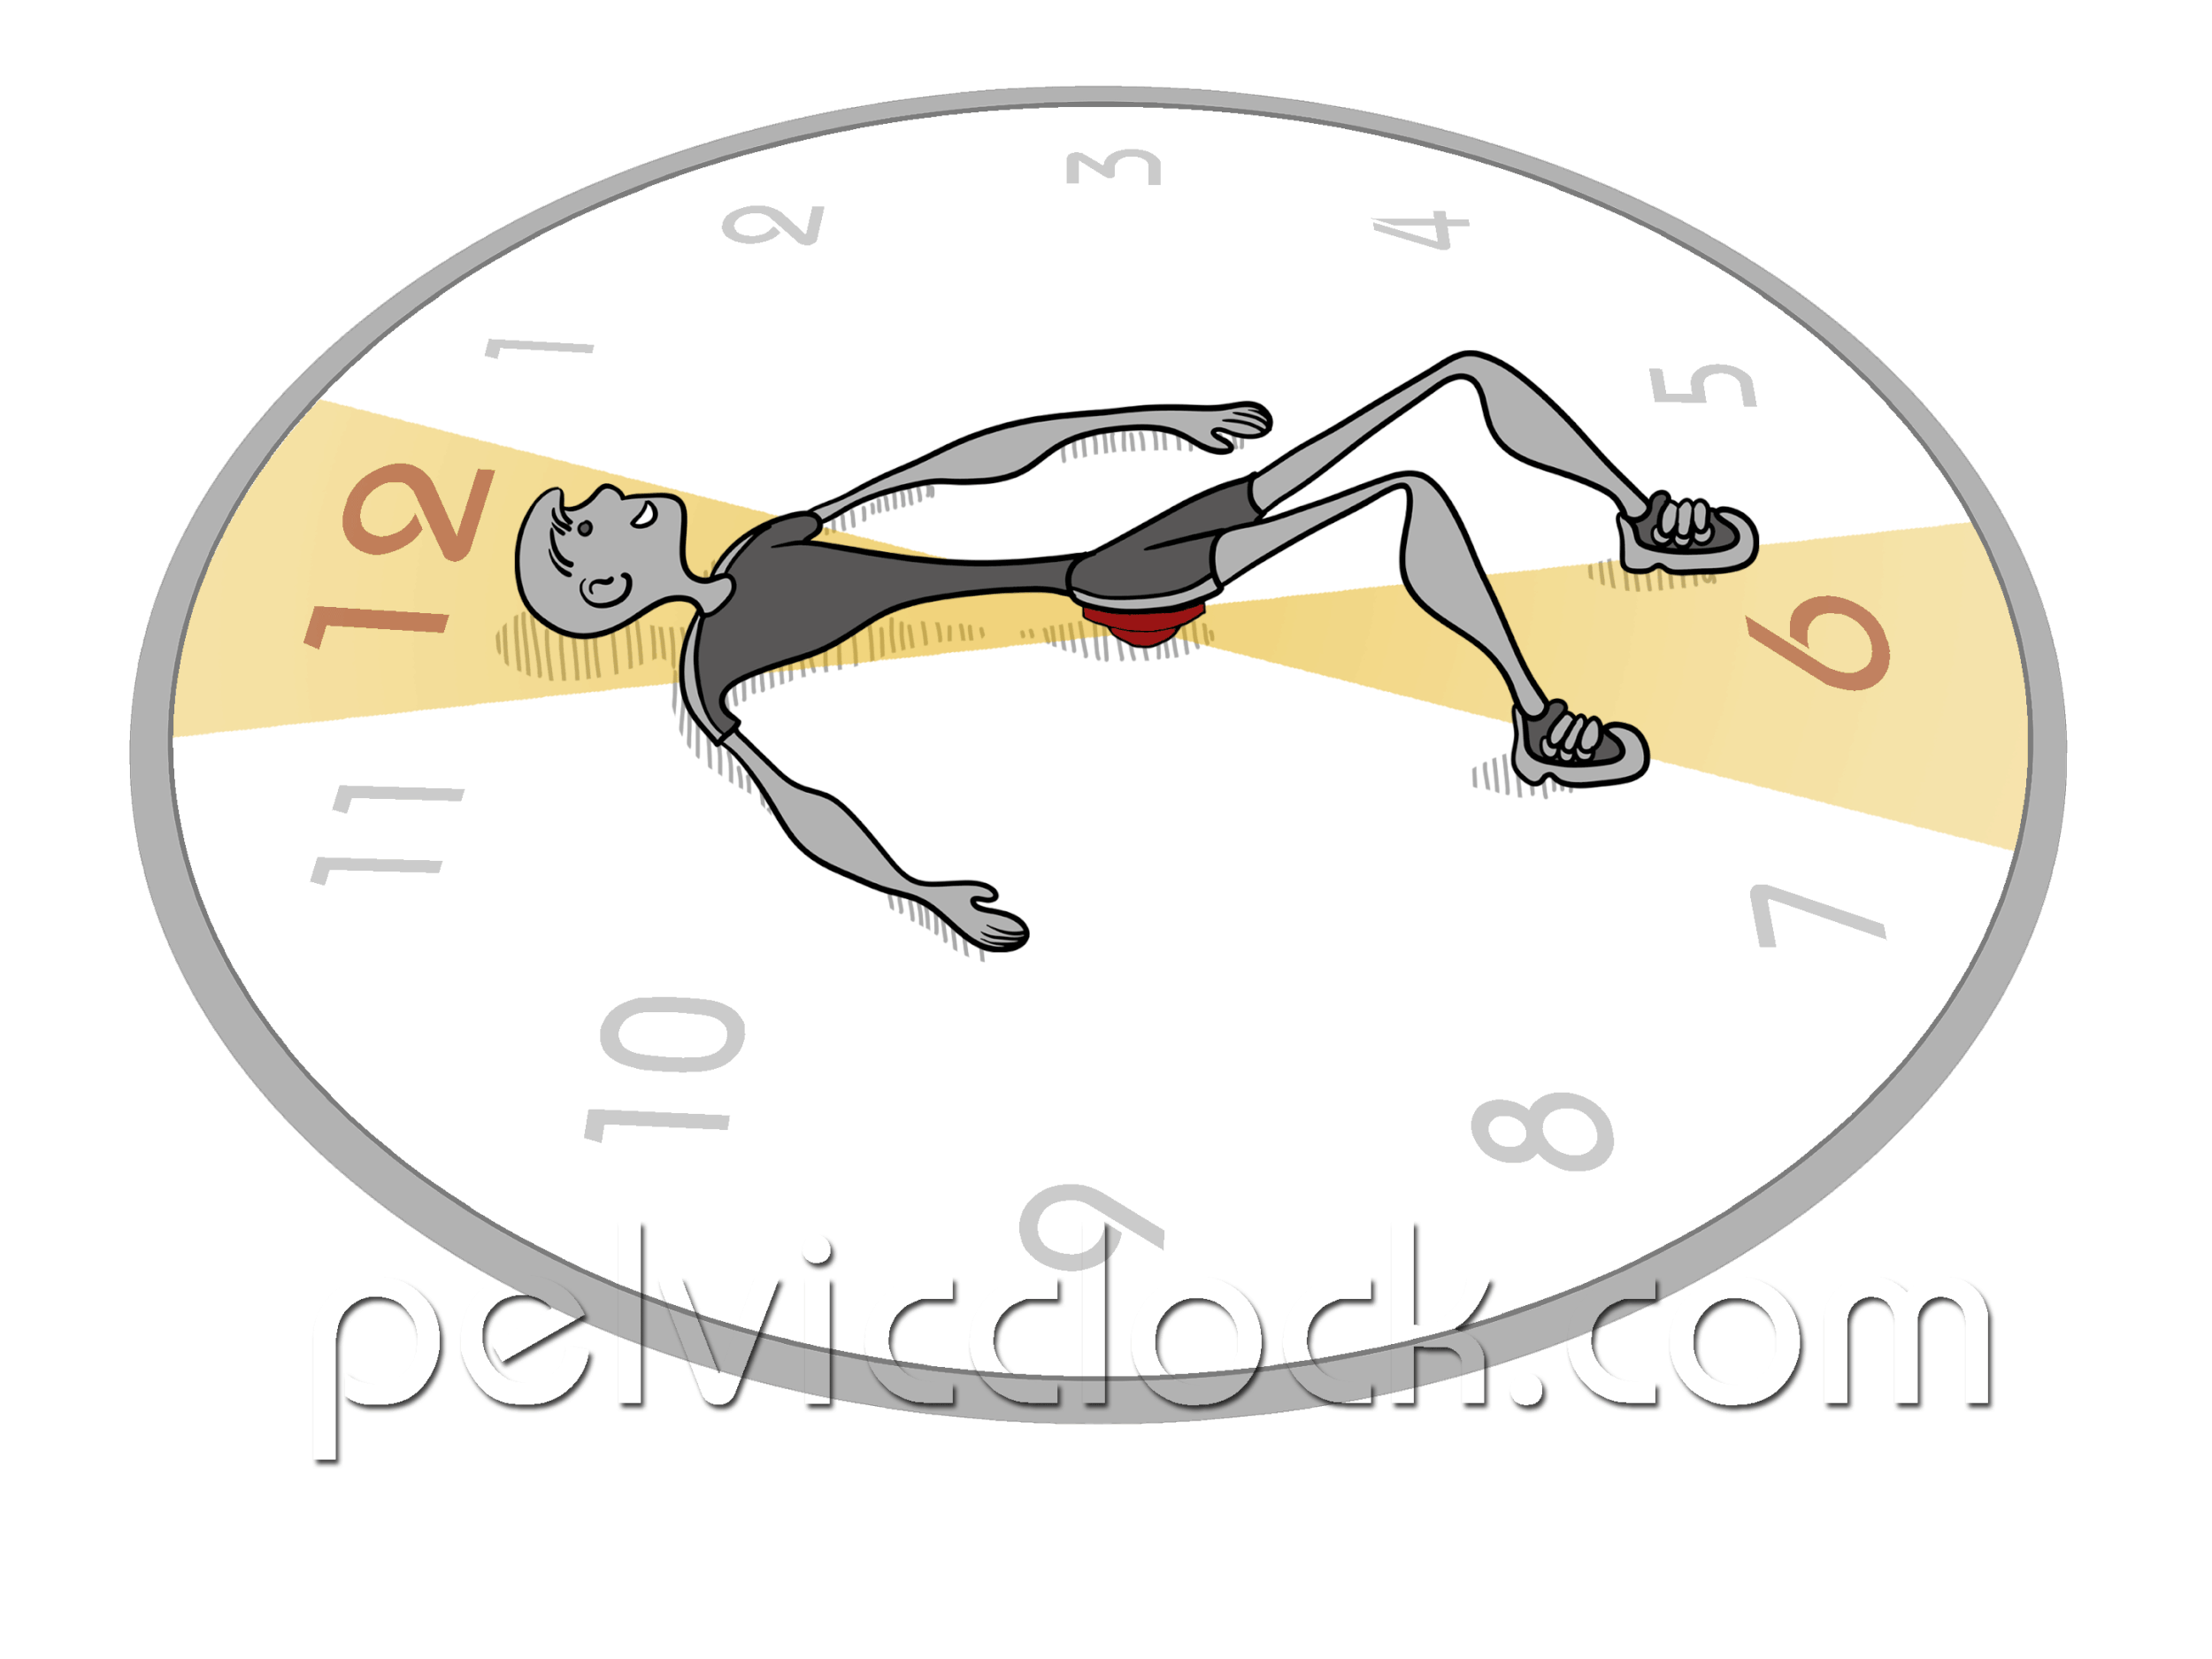
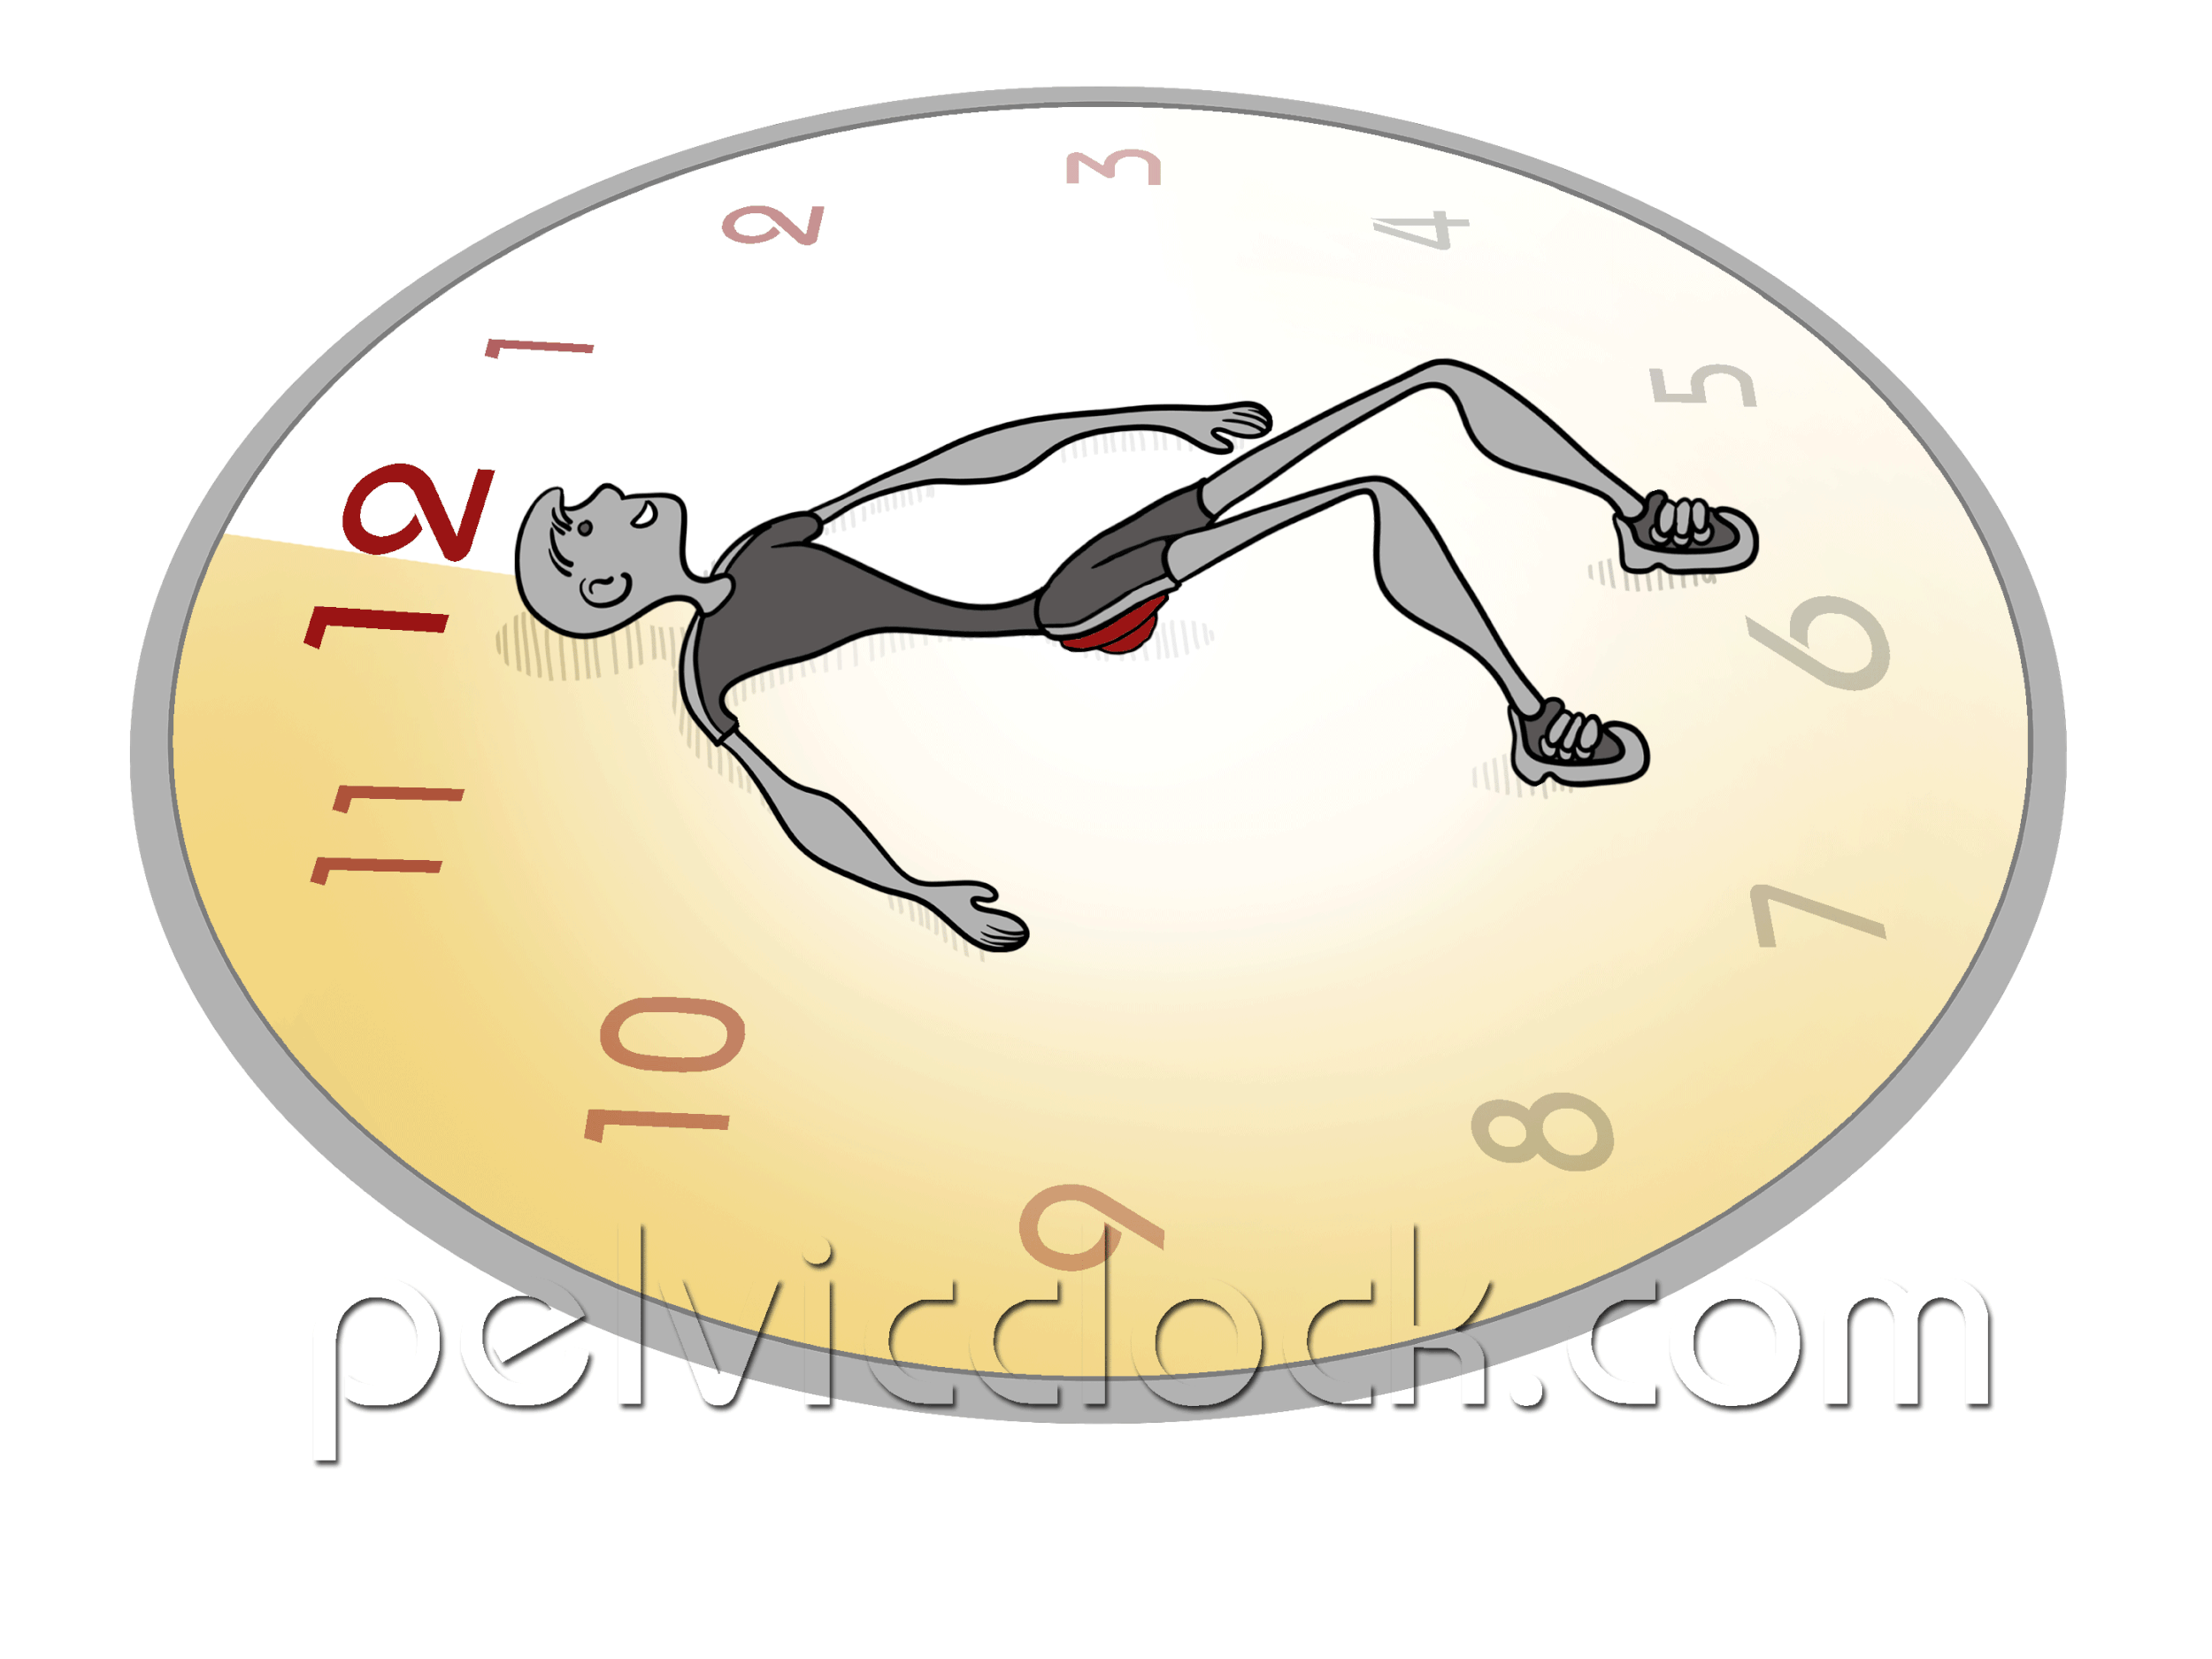
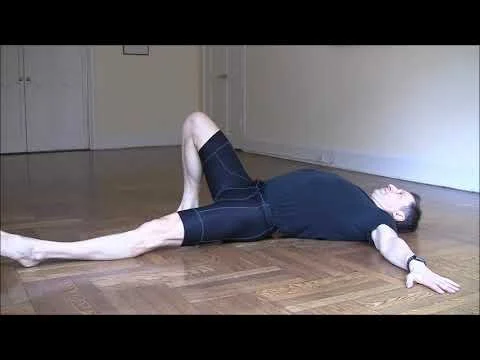
Bridge for Gluteus Medius
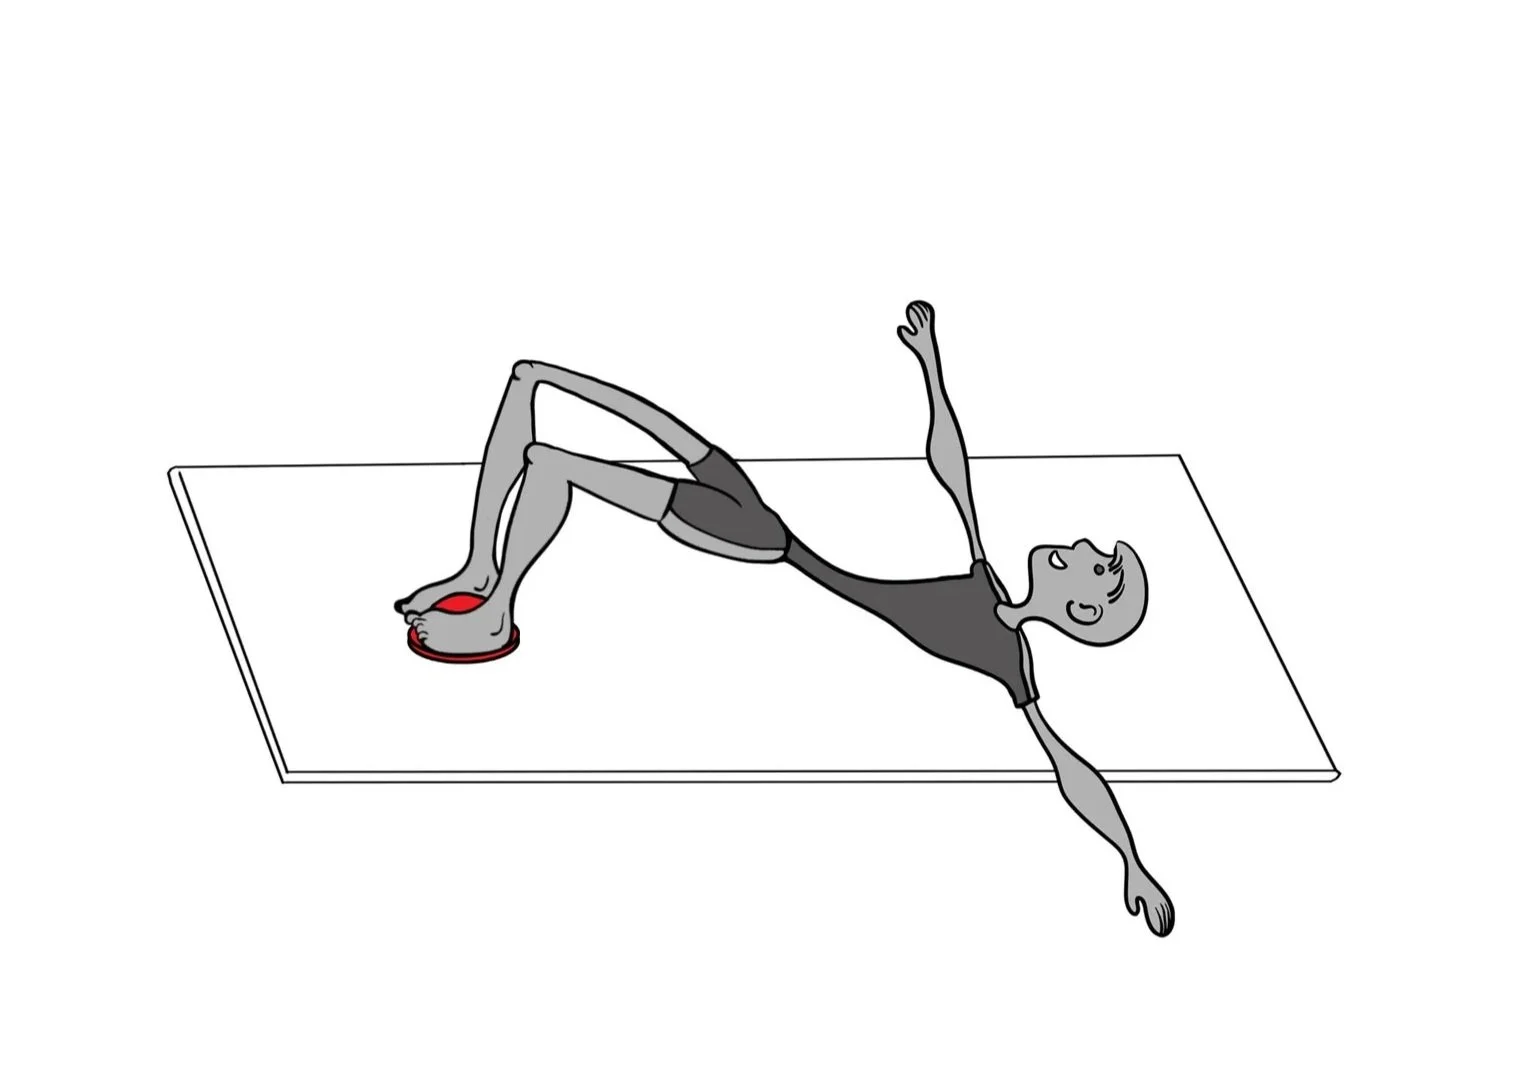
Lie on your back with your knees bent.
Place the Pelvic Clock® upside down between your feet.
Wrap your arches around the device, matching its shape. Keep the outer edges of your feet on the ground and your knees wide apart.
Lift your pelvis and hold for 5–30 seconds.
Purpose:
Strengthens the gluteus medius
(Bridges performed with feet flat emphasize the gluteus maximus instead.)
Unlock the SI Joint with Pelvic Clock® Stretches
Knee-to-Chest Stretch
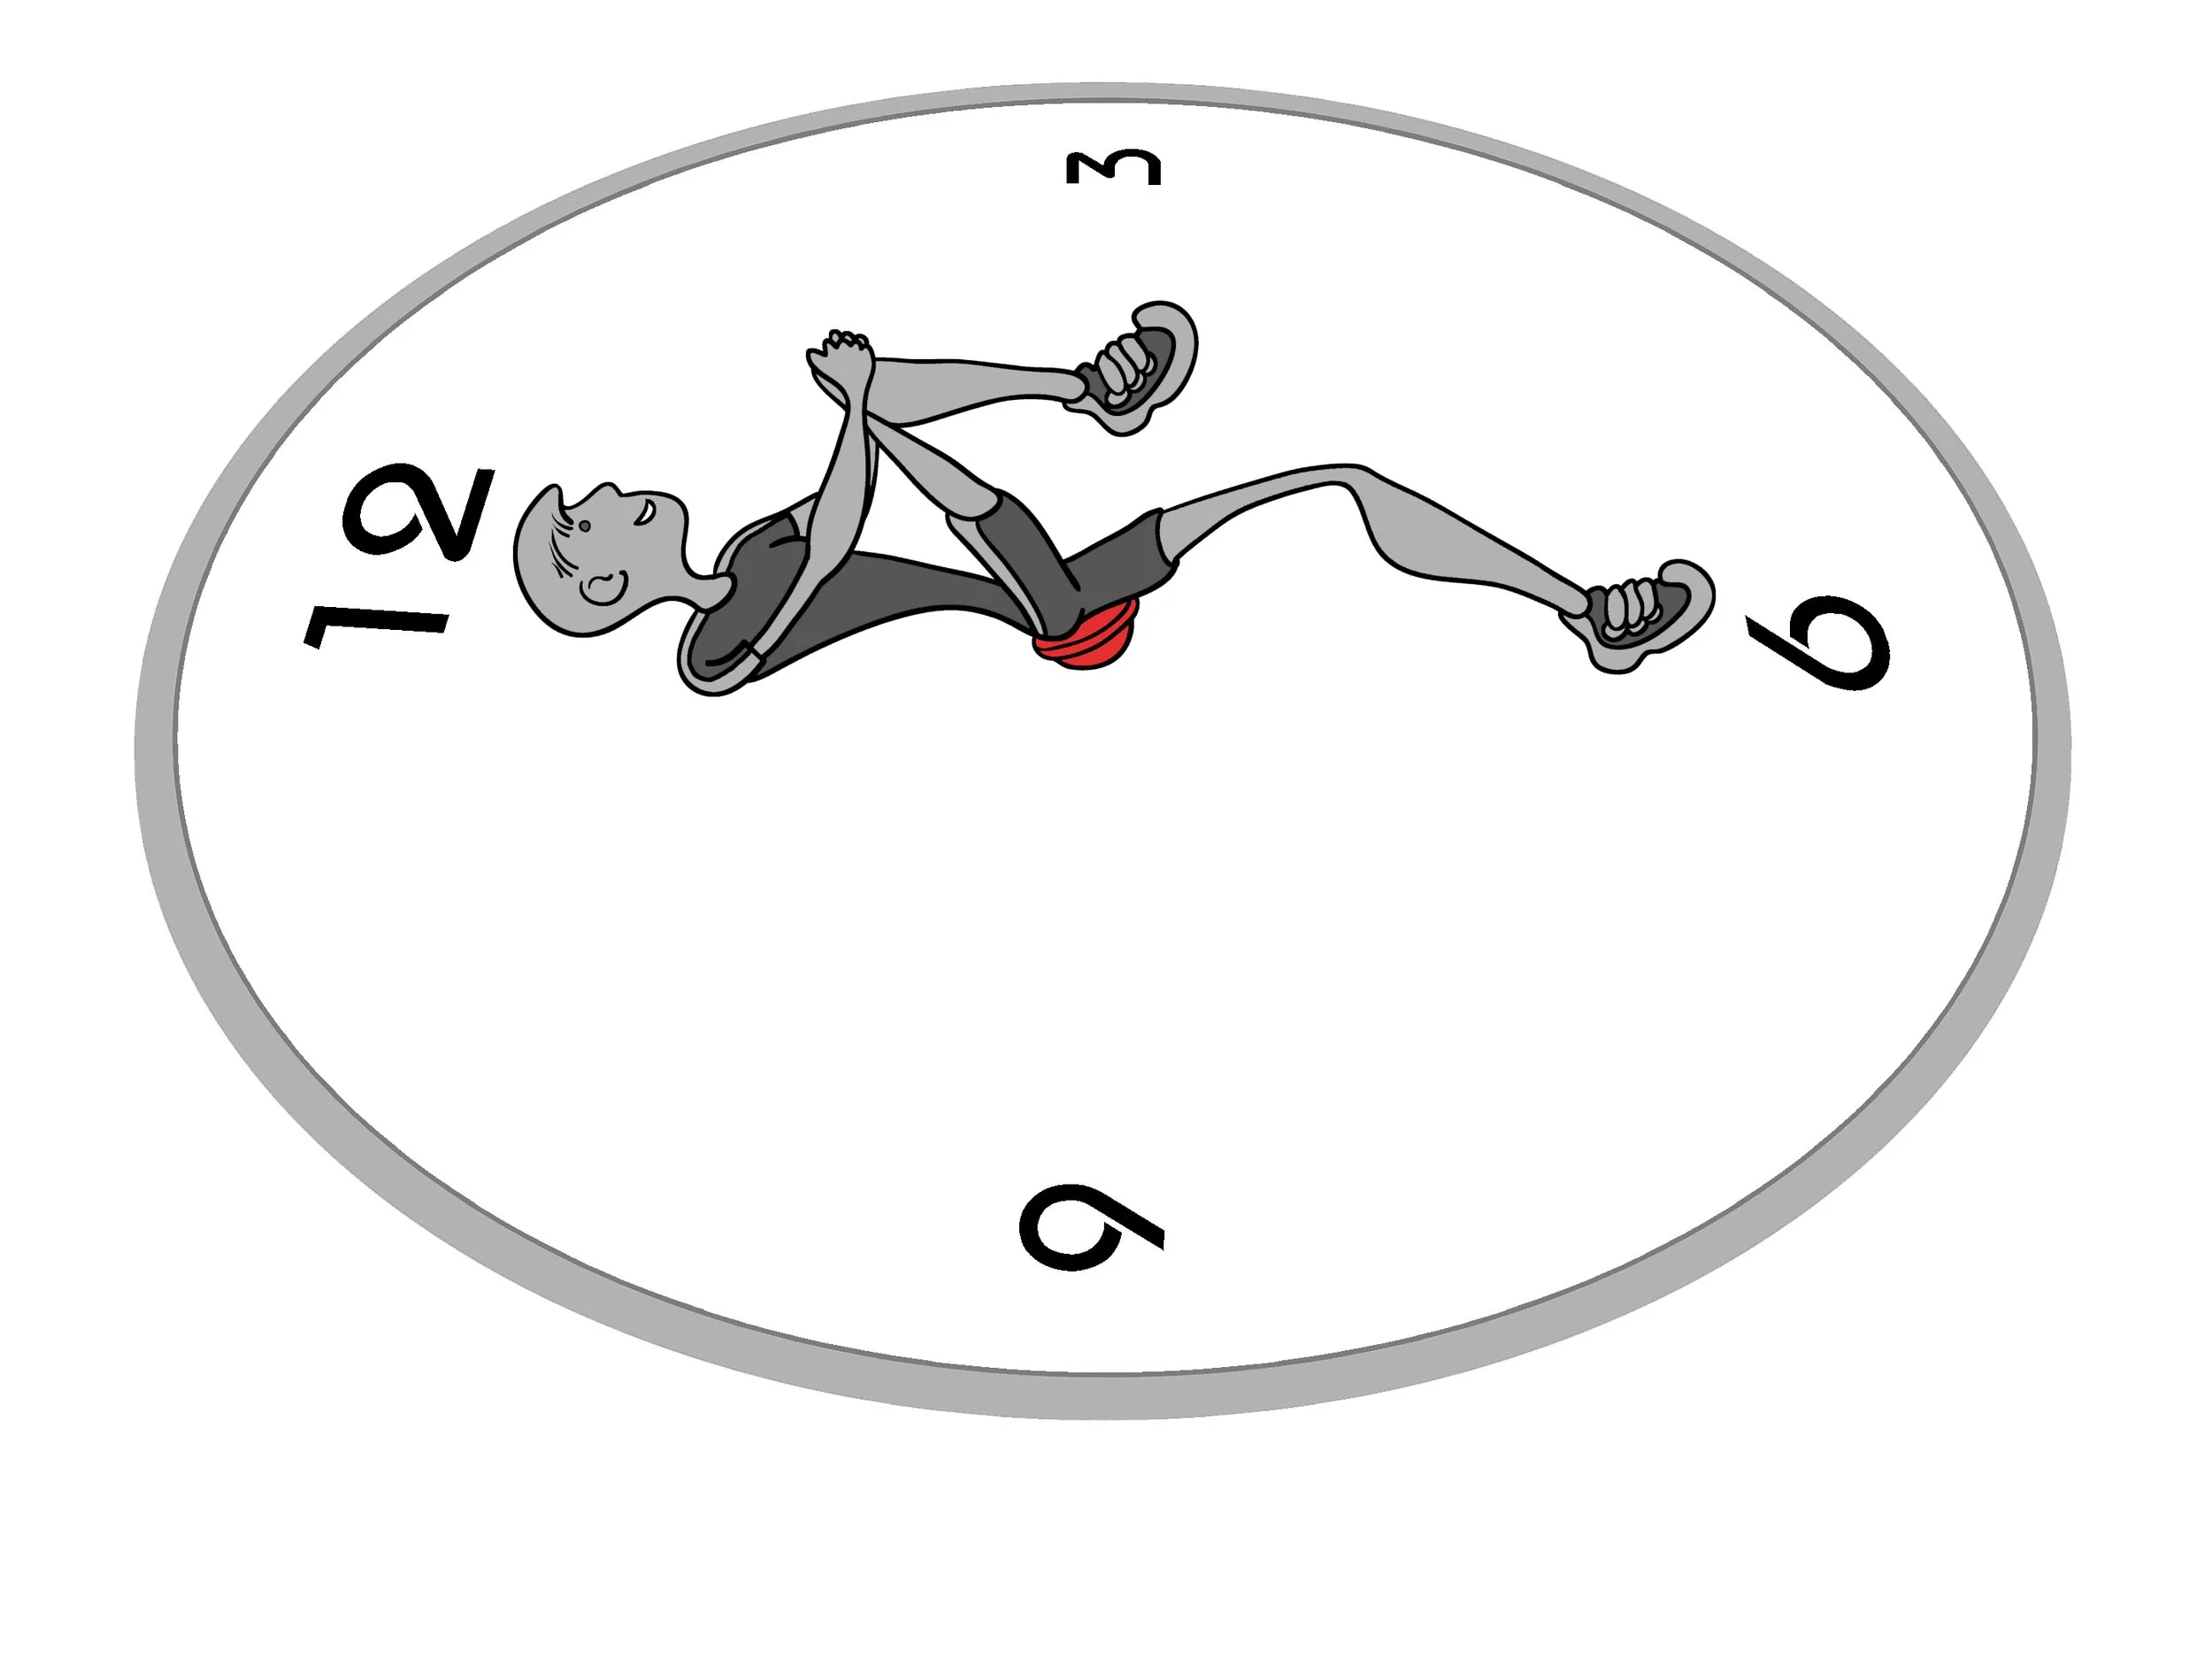
Pull the right knee toward your chest.
Extend the left leg and relax.
Gently rock the pelvis in different directions for 30+ seconds.
Repeat on the opposite side.
Purpose:
Stretches quadratus lumborum
Stretches iliopsoas
Exercise “12–6”
Knees bent, feet grounded.
Inhale as you slowly tilt your pelvis toward 6 o’clock.
Exhale as you tilt toward 12 o’clock.
Purpose:
Improves mobility of the lumbar spine and hips.
Pelvic Circles
Clockwise rotation follows the 12–3–6–9 pattern.
Counterclockwise rotation follows the 12–9–6–3 pattern.
Slowly rotate the pelvis around a central axis extending from the navel through the device.
Repeat 10 times in each direction.
Purpose:
Identify restricted areas
Loosen the lower back
Improve lumbar and hip mobility
Activate underused core muscles
Single-Leg Diagonal Pelvic Tilt
Do both exercises — “5–11” and “7–1” — 10 times each, emphasizing positions 5 and 7.
Compare both sides.
Then Work on the side with limited range of motion.

Tips for Safe Practice
Assess your pain
This program is intended for chronic, dull pain. Sharp or severe pain (greater than 5/10) requires medical evaluation before starting.
Start slowly
Build your routine gradually. Move with control, allowing time to stretch and decompress.
Listen to your body
Use intuition and common sense. Move in the direction that reduces discomfort.
If one pelvic tilt increases pain, gently explore the opposite direction.
Stay within your limits
Work only in a pain-free range. Gradually increase range of motion as control improves.
Compare both sides
Always assess left and right.
Stretch the tighter side and strengthen the weaker, less controlled side.
Ice
During the first two weeks, apply ice to the lower back for 10–15 minutes after exercise to reduce the risk of flare-ups or to calm pre-existing inflammation.
Padding
During the first two weeks, place a small towel on top of the device for added comfort.
Limited mobility
If getting on the floor is difficult, exercise on a bed or massage table.
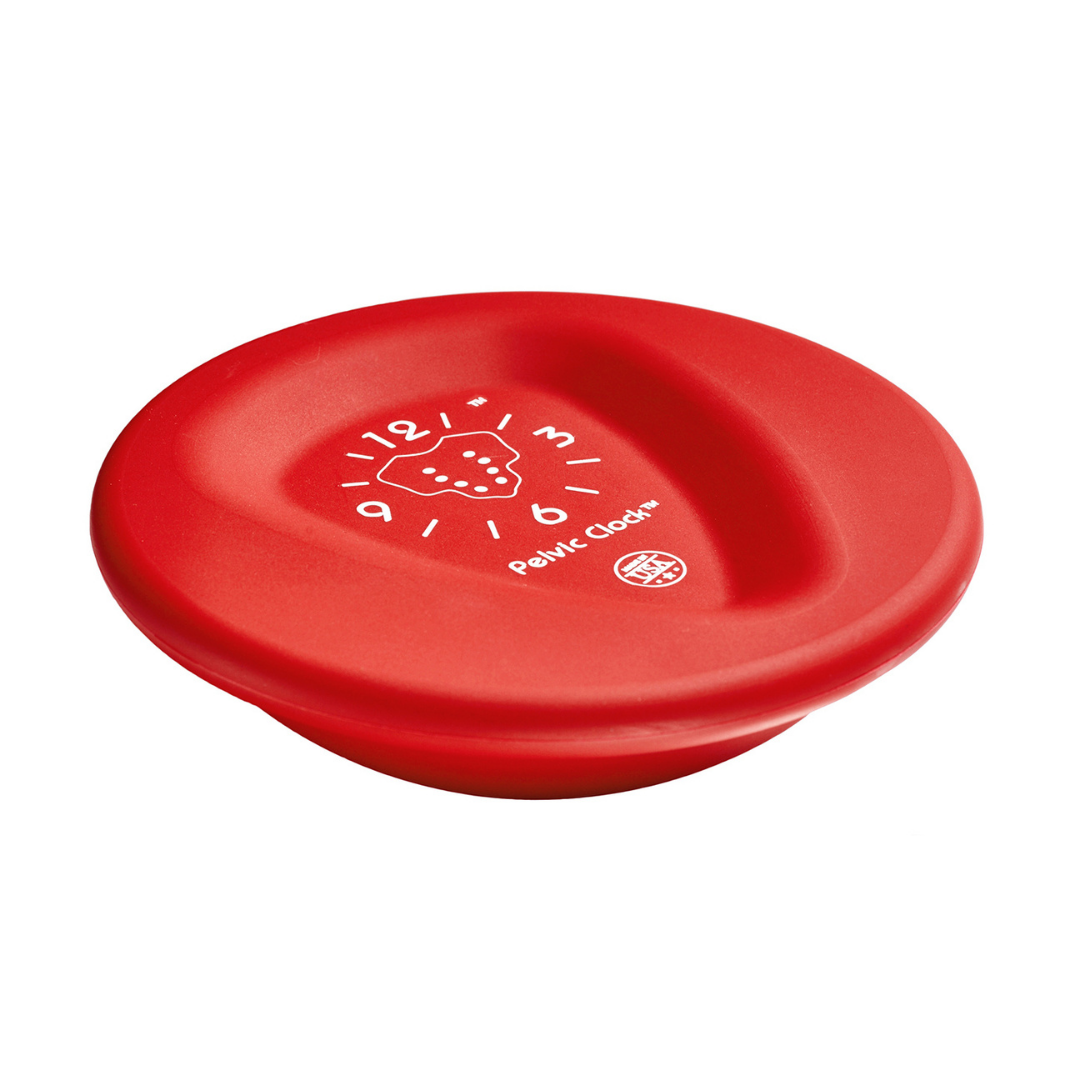
Manufactured in the USA, the Pelvic Clock® is a portable exercise tool for the hips and lower back. It is recommended for stretching and core stability workouts designed to relieve chronic pain associated with sacroiliac dysfunction, scoliosis, piriformis syndrome, lumbar spinal stenosis, and other related conditions.
Size: 6.5" x 2". Weight: 0.75 lbs.